Preliminary operation
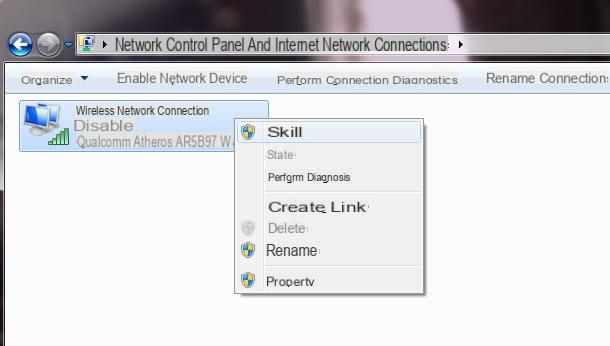
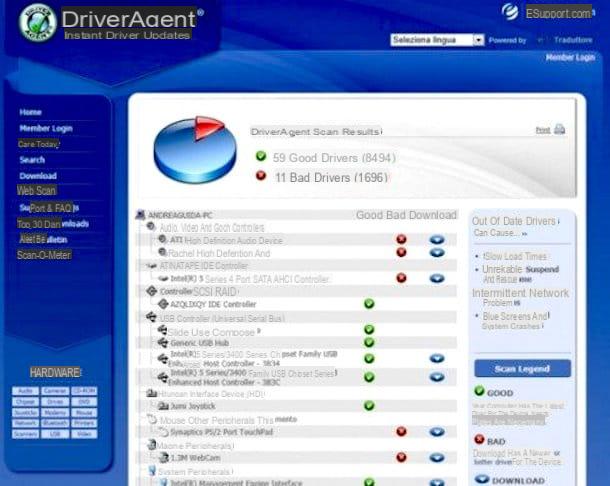
Before installing Windows 7 on XP I suggest you first make sure that compatible drivers are available for all components of your computer. To do this, you can download one of the software suggested in my driver programs article.
Before seeing in detail how to install Windows 7 on XP, you must also perform two very important operations: you must make a backup of all the most important data on the PC (because yes, it is true that with the transition from XP to Windows 7 the data should not be deleted, but when performing such delicate operations it is always good to be cautious and secure your files) and you must make sure that your computer is compatible with the new operating system.
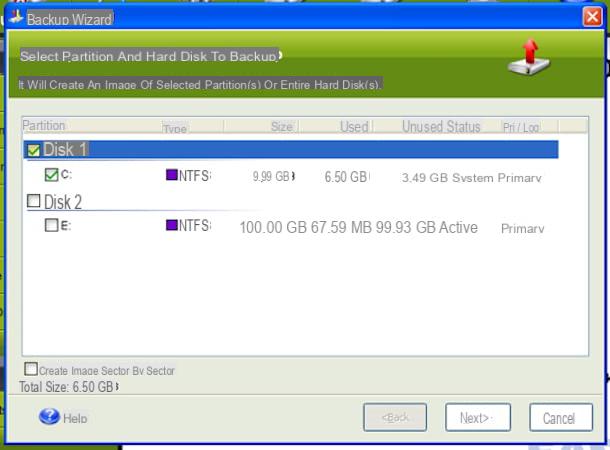
As for the backup, save all your data that you consider most important on an external hard drive, a USB stick or DVDs, your most important data (documents, photos, music, films, etc. ..). If you don't know how to back up your data, take a look at my guide on how to back up your data to immediately clear your mind on what to do.
As for compatibility, the successor to Windows Vista needs a computer with at least 1 GB of RAM, a 1 GHz processor, 16 GB of available hard disk space and a graphics card with DirectX 9 support to function properly. Also, if you have decided to install a 7-bit version of Windows 64, make sure your computer has a processor that can support it and has at least 4GB of RAM. For more details, click here to consult the appropriate information web page attached to the official Microsoft website.
Get and / 0 create the installation media
Once you have carried out the preliminary operations that I have indicated in the previous lines, you can finally move on to the actual action. If you are in possession of the Installation DVD Windows 7, insert it into your computer and restart your system.
If you do not have the Windows 7 installation disk but are still interested in installing the new operating system on your PC in this way, take a look at my guide on how to buy Windows 7 to find out how to find it.
If, on the other hand, you do not have the operating system installation disk and do not intend to purchase it and if your computer does not have an optical drive, you can create a bootable USB stick. How? I'll explain it to you right away.
In order to create a bootable Windows 7 USB stick, the first thing you need to do is get one pendrive of sufficient capacity, personally I suggest you find one with at least 4 GB of free space. Also make sure that the key to be used is empty or that in any case there are no important files on it because in order to use it you will need to format it.
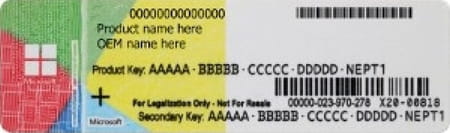
In addition to a key with sufficient capacity, you need theISO image the version of the operating system. If you don't know where to find the Windows 7 ISO image, I suggest you look for it on sites that allow legal download (to be able to install it you will then need to use your license code). Alternatively, you can create it yourself from a computer equipped with a DVD player. To find out more about it, I invite you to read my guide on how to extract ISO files from DVDs and CDs.
Once you have found everything you need, click here to be able to connect to the main page of the software Windows USB/DVD Download tool, a free program from Microsoft that is used to create a USB stick for installing Windows 7. After viewing the software page, press the button download for free to start the download procedure on your computer.
When the download is complete, double-click the installation package Windows7-USB-DVD-Download-Tool-Installer-en-US.exe click her cousin Run, Then Next, then on install and finally on Finish.
Proceed now by double clicking on the Windows 7 USB / DVD Download tool icon that has been added to the desktop or search for the program by accessing the section where all the programs and applications of the visible menu are grouped by pressing the button Home Windows or the Start Screen.
Then click on the button KATEGORIEN which is located in its main screen to select the Windows ISO image to use to create USB bootable Windows 7. Continue by clicking first on Next, Then USB Device and finally on Start Copying in order to start copying the files from the ISO image to the USB stick. Then wait for the green progress bar in the program window to reach the 100%.
At this point, in order to take advantage of the key just created on your computer, leave it connected to it and restart the PC.
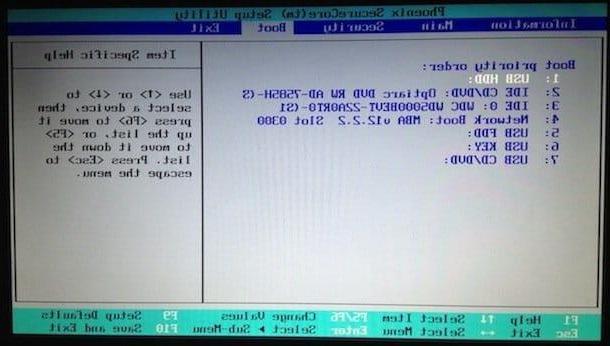
Regardless of whether you have chosen to install Windows 7 on XP via the diskette or via the key, after restarting the system, if the installation procedure of the operating system does not start you will have to configure the BIOS correctly to be able to boot, i.e. boot, from USB devices. To find out how, I suggest you read my guide on how to enter the BIOS and then take care to change the boot order of the computer.
After booting the installation DVD or the key, wait a few moments for all the files necessary for the installation of Windows to be loaded and then follow the simple wizard that is shown on the screen to start the installation process. Windows 7.
Install Windows 7
Once the Windows 7 installation procedure has started, you must first set the language of the operating system: make sure that all three drop-down menus are configured on the city option and click on the button NEXT to continue. At this point, click on the button Install and wait a few seconds for the operating system installation program to load.

Then accept the terms of use of Windows 7, putting the check mark next to the item I accept the license conditions, and click on first NEXT and then Custom (expert users) to choose the path of custom installation (the one with direct update is not available if you start from Windows XP, as I said before). Now, select the hard drive on which Windows XP is already installed (ex. Disk 0 Partition 1) and first click on NEXT and then OK to start the Windows 7 installation process.

Here we are! Now all you have to do is wait for the end of the Windows 7 installation process (it should take about 20 minutes) and, after a couple of computer restarts, you will find yourself facing the initial configuration procedure of the operating system during which to configure the your user account and configure the settings on updates, time zone and so on.

There will be no more traces of Windows XP, or rather you will no longer be able to use the old operating system (Windows 7 will start automatically every time the PC is turned on) but its installation files and all the data you previously had on the hard disk will be stored in a folder named windows.old placed in C:.
This folder is not necessary for Windows 7 to work, so after you have recovered the data you care about from it (in case you forgot to include it in the backup you made before installing Windows 7 on XP), you can also delete it from the hard disk and recover a lot of free space.
Caution: The procedure just described is not always recommended. To have a "clean" and performing operating system, it is much better to format the computer, as I indicated in my tutorial on how to format the computer, or to install two operating systems on the same PC, as I explained to you in my guide on how to install two operating systems.
How to install Windows 7 on XP