Create restore points on Windows it can be a useful solution to avoid losing important data following a bug or malfunction. This system allows us to recover our documents without having to completely restore Windows.
Windows 10, By default, it only creates restore points on certain occasions. Usually whenever we install new software or when we perform critical system updates. The advice is to manually perform restore points occasionally. Especially if we regularly install new programs on our machinery or if we send and save important documents every day. Fortunately, creating restore points is a very simple operation and it only takes a few steps to complete the operation.
How to create restore points
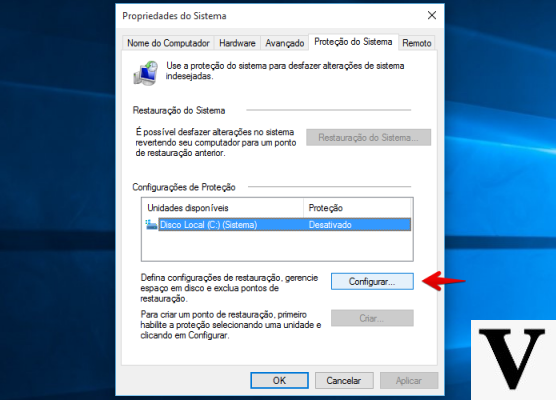
To create restore points on Windows 10 the first step is to type "Create a restore point" in the search bar located at the bottom left, near the Start menu (the one marked with the Windows window icon). Once you click on the Create a restore point section, the system will open a new tab inside the control panel. In this page we have to click on the Create item (located at the bottom just below the Configure option). At this point Microsoft will allow us to use a couple of words to describe the restore point. We choose the right description, in this way it will be easier to find the correct restore point later. There is no need to enter the date and time because Windows 10 does it by default. At this point we confirm the operation and wait for Windows 10 to create a restore point for us. Through the Configure option, which we mentioned earlier, we can instead establish the maximum amount of space in our memory that will be used by each single restore.
How to create a restore point in Windows