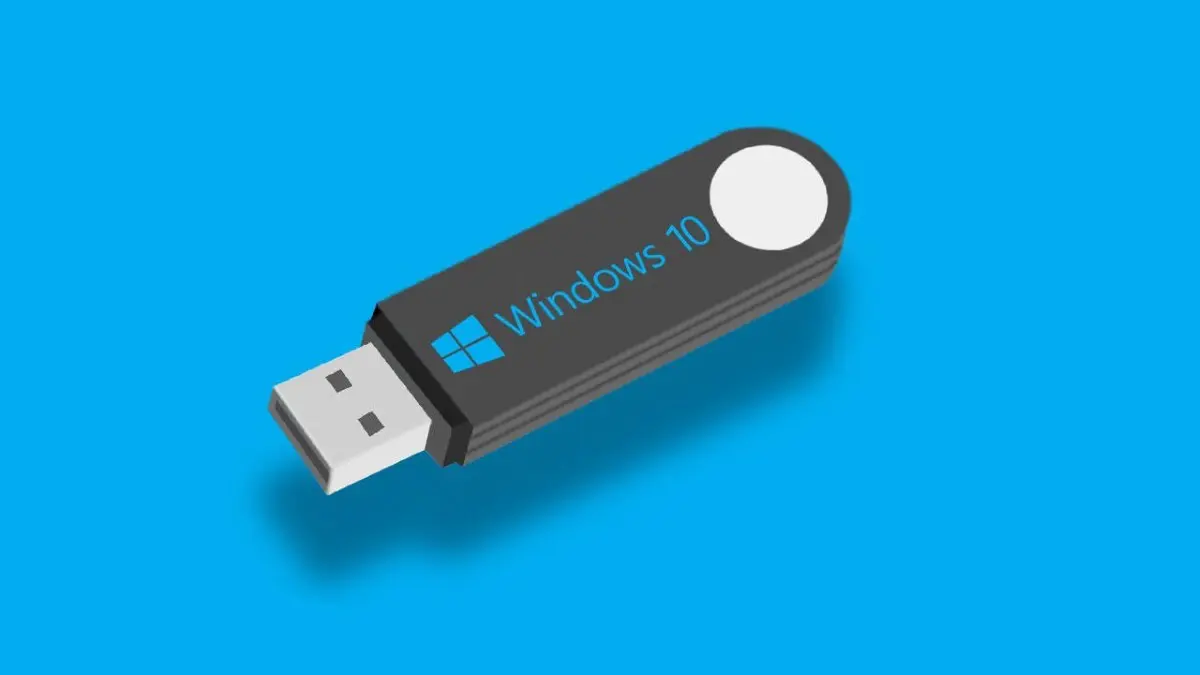
Removable or USB storage drives are undoubtedly making CDs and DVDs history. It is to the point to see that essentially no chassis has room on its front for a reduced circle of peruser. This additionally impacts the ways in which we need to introduce Windows, we have always done it from the common DVD, however currently we can't make a DVD. For that reason today we tell you about the best way to introduce Windows 10 from USB.
Next, we will clarify the total strategy of how to introduce Windows 10 from USB. We will see that it is practically the same, not to say equivalent to doing it from a DVD and it will likewise be a quicker interaction assuming we have USB 2.0 or 3.0. Let's see the cycle
Realization of the establishment unit
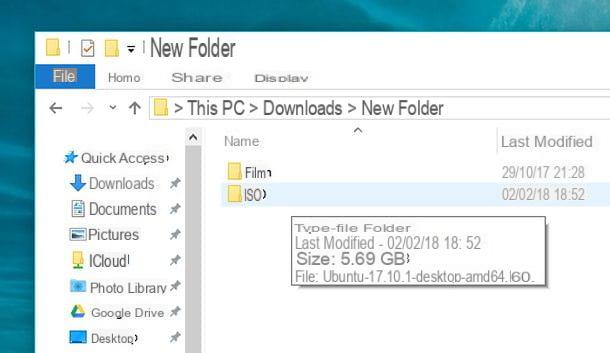
As with DVDs, we should make an establishment drive with the framework inside. To have the option to do this we won't have to look for programs on the Internet like Rufus, nor ISO pictures of Windows 10 on YouTube or web of dubious security.
We have it all at home. Microsoft has an application called Media Creation Tool that by downloading it from its website allows us to make a USB drive with the latest rendition of the framework inside. That is, it will simply be the application that downloads the framework we need and completes it on a USB. It couldn't be simpler.
To see the whole course of making a bootable USB we recommend you visit our bit by bit that exhaustively clarifies this interaction:
The most effective method to make bootable USB Windows 10.
[/box]
When we have the USB drive with the framework, the time has come to introduce the working framework, however first we need to accomplish something different.
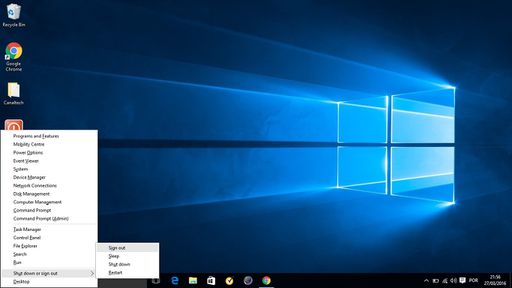
Designing the BIOS boot arrangement.
Another next issue we must defeat to introduce Windows 10 from USB is to make our USB gadget boot before the framework introduced to our PC. Additionally independently get this to boot before a hard drive we have introduced.
As of now practically all BIOS are UEFI type or with graphic climate and possibility of having mouse inside it. In any case, there are still PCs from a couple of years ago that do not have it. We should place ourselves in both circumstances.
Classic BIOS
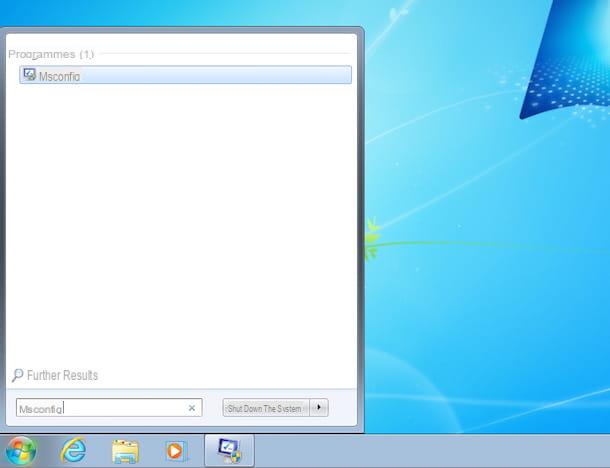
To get to the BIOS, it will be important to reboot the PC and press a specific key on the console, towards the beginning of the boot cycle, when a dark screen appears for certain letters.
Sometimes, a screen of an alternative shade may appear: this is the situation of the small Asus Eee PCs, where the screen is dim. Interestingly, the accompanying message appears: "Press DEL to enter arrangement" or "Press F2 to get to the BIOS", which is written in English 100% of the time.
There are cases where an alternative key or set of keys may be required, depending on the model and make of the PC or motherboard, e.g. F12 or Esc. In any case, in general the expected key is F2 or DEL.
Once inside, we should look for a part that says "BOOT", to move around we use the latch keys.
Once in the correct segment (notice if our capacity gadgets, DC, USB, etc. appear) we must alter the places of the Play-List. To do this we must move them with the + (up) or - (down) key.
A drop-down menu may also appear where we must choose the gadget we need.
In practically all of them we place "Removable devices" or "USB devices" at the top of the list.
Then at that point we press F10 to save and reboot. This way our gadget will boot first.
UEFI BIOS
In more recent PCs, the BIOS has been supplanted by an alternate framework called UEFI, which is much simpler to utilize and comprehend. While the keys to press and the actual part may vary by PC model, the cycle is comparable on all PCs utilizing the customary BIOS.
There will constantly be a BOOT area where we can choose our gadgets.
Without entering the BIOS
On certain PCs it is not important to enter the BIOS to change the boot request. For this situation, on the dark screen that appears briefly when the PC is turned on, there is a writing that says "Press the F18 key for the boot menu" (or F12 or F11) to enter the boot menu.
This allows you to choose which gadget to use to boot the PC on that just event, without always changing the prompt. This way there is no compelling reason to go into the BIOS to design anything.
Setup process
When these errands are done, we will really want to introduce Windows 10 from the USB. Our gadget will boot up and the establishment screen will appear.