If you dreamed of being able to enjoy Android, you might have tried to install Android on your PC before. But if the steps seemed a little complex to you or if you simply do not want to install an OS in a virtualized way, I suggest here another method, simple and effective, to be able to launch your Android applications (and games) from your PC.
The advantage, as you will see here, is to only have to install a Windows compatible program, and to take advantage of the Android interface to be able to run compatible applications, in particular from the update of the system to Ice Cream Sandwich. I mean of course the software BlueStacks !
Bluestacks Overview
Bluestacks is a software available on Windows or Mac OSX which acts as an emulator for Android. In reality, it runs under the Ice Cream Sandwich interface now (Android 4.0.X) and manages the sensors of a phone just as well using the mouse or keyboard of your computer.
Another interesting point to know, the NDK is supported and the application manages the ARM architecture, which also allows you to take advantage of the hardware acceleration of your GPU, for even more fluidity and performance (I let you imagine the capabilities of a PC to run mobile applications).
So, what you need to remember above all is to be able to run Android applications, even recent ones, thanks to a simple software, to install and use without further delay!
Discovery of the software
There is no more time to lose, now that you know the main thing about the software, we are going to download it, then install it and see how to use it, in a very simple way, don't worry.
Downloading and installing the program
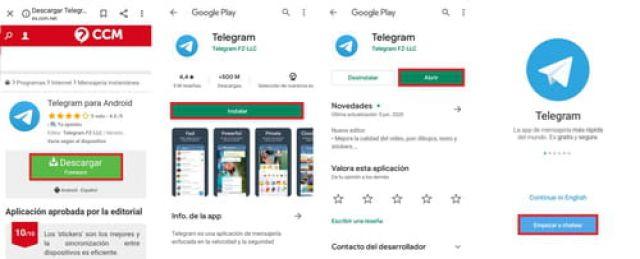
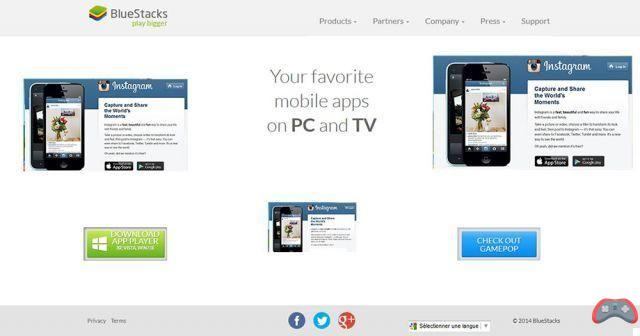
To get the program and have it on your PC, go to the official Bluestacks page and download the software.
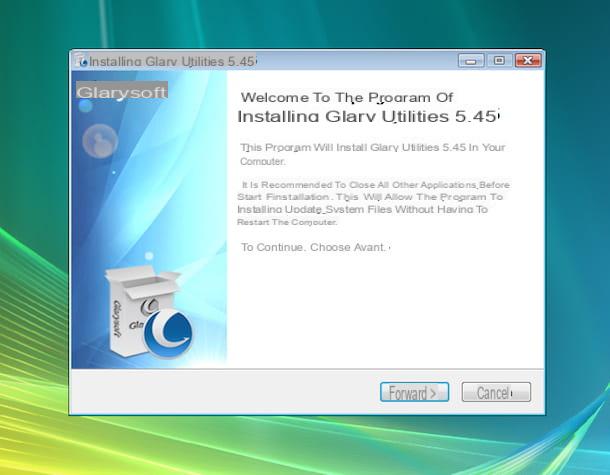
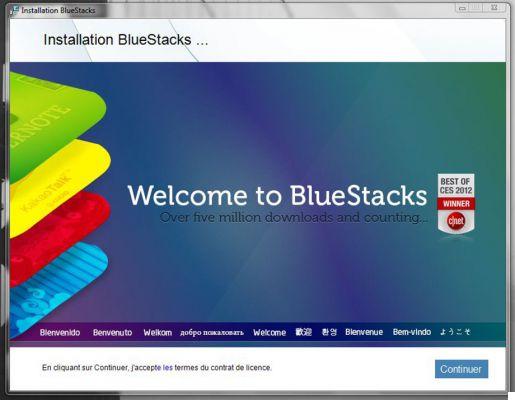
Install the program as you would a standard application:
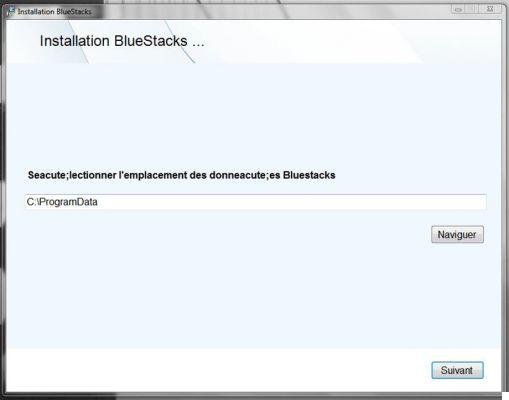
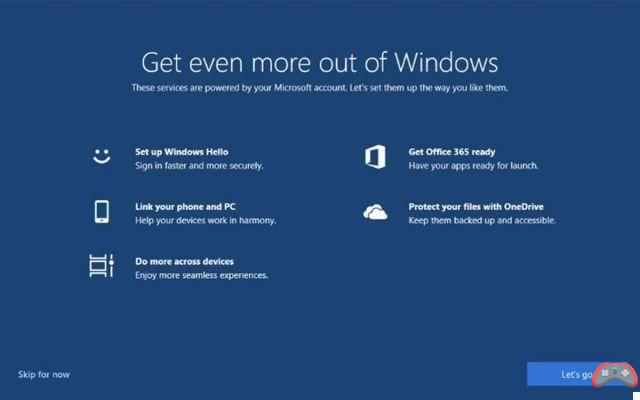
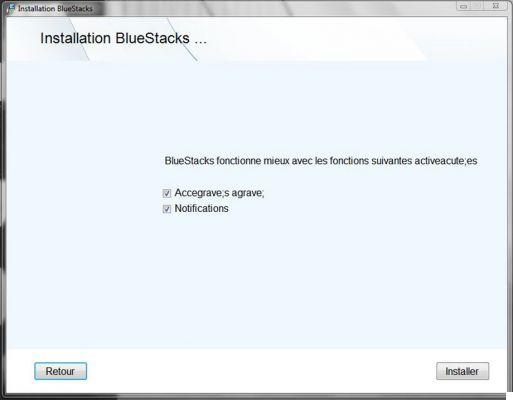
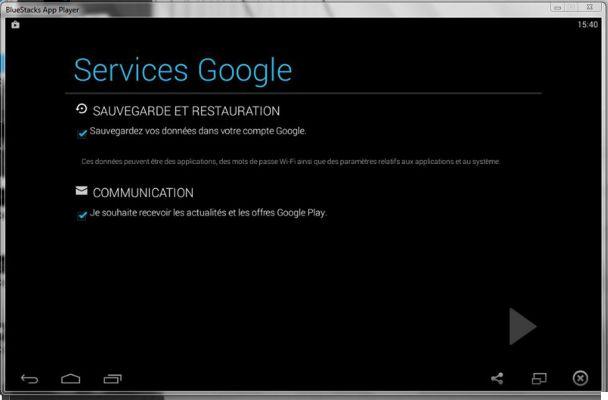
When you arrive at the step just below, check the boxes of your choice: the first to have access to the App Store, the second to enable app notifications.
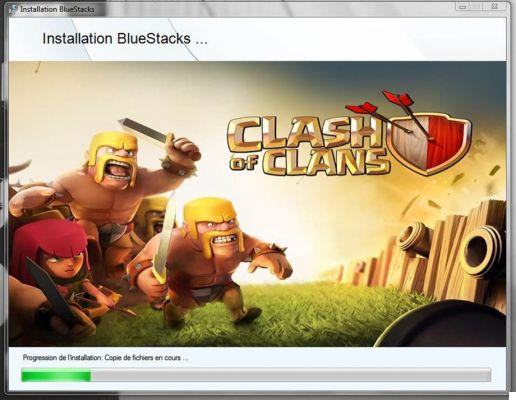
Installation starts...
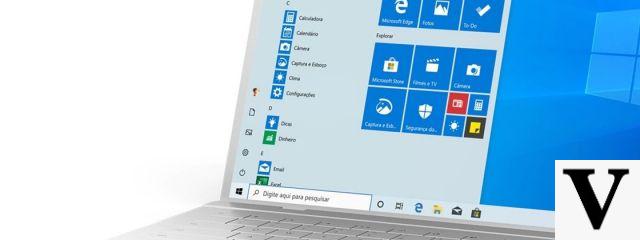
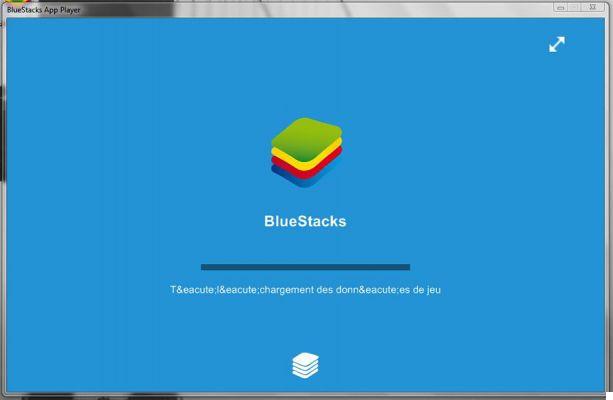
Once installed, the Bluestacks app launches on its own.
Launching Android apps
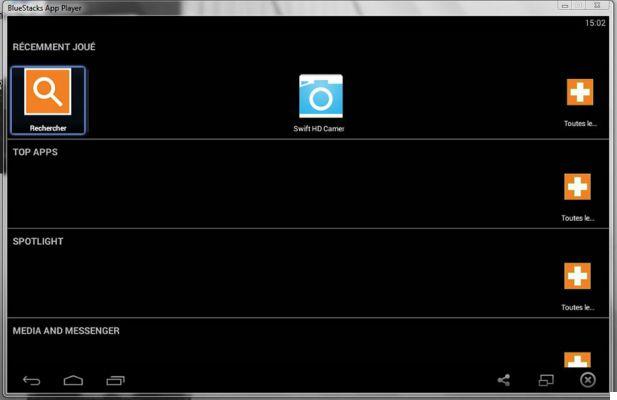
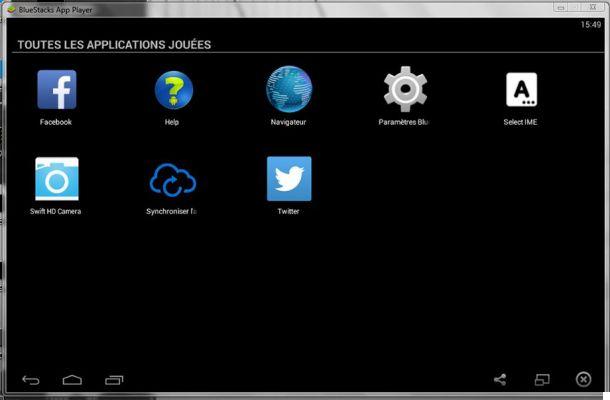
The interface loads and you end up on this page. It presents some installed applications (on the first line of the screen), for the rest, these are applications offered and classified by category.
Automatically, Bluestacks will launch Android update

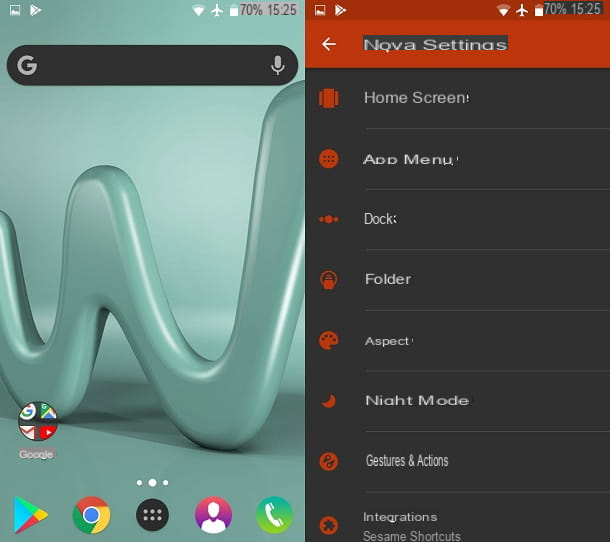
After that, you will have to go to the Settings through “All…” at the top right, as you would with your smartphone or tablet and fill in your Gmail account.
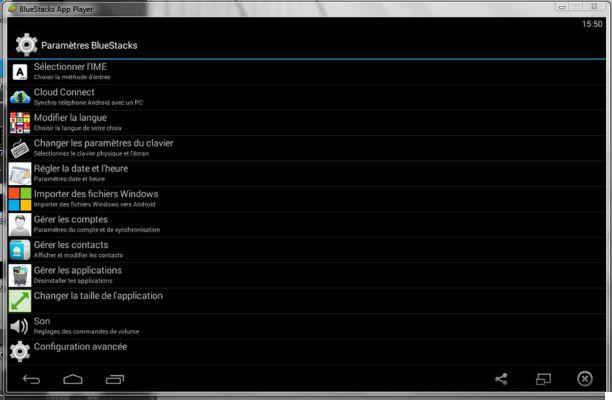
On the screen below, click on “Settings…”
Then click on “advanced configuration”
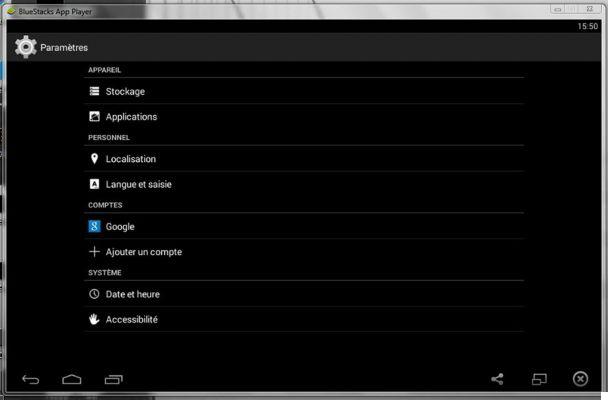
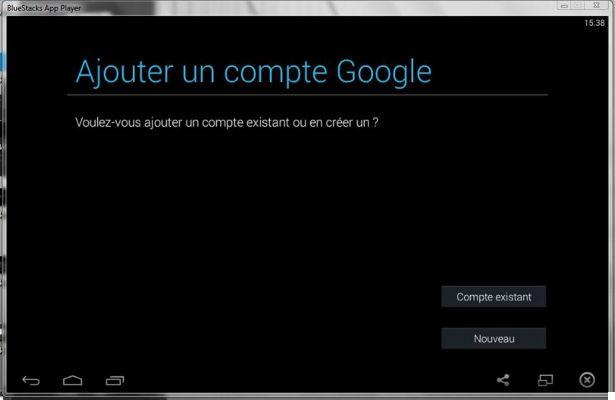
And on “add an account”
To finally select “Google”, of course
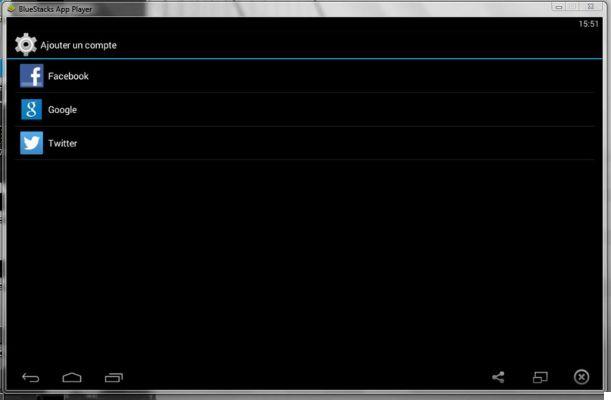
Once your account is linked to the application, you will be able to download applications and/or games of your choice from the Play Store as usual to install them (with your PC, you should no longer run out of space and take advantage of the machine's Ethernet/Wi-Fi performance.
Before we finish with our tutorial, remember that multitasking is well supported by the program.
And that's all, now you know what to do to download applications, since you are facing your good old Play Store. Have fun !
Conclusion
I hope this little tutorial has allowed you to enjoy your applications and games, directly from your computer. You see how easy it is to run these thanks to Bluestacks and this solution therefore does not require the installation of Android in addition to your native operating system.
Do not hesitate to give your feedback on the software, if you are already using it, if it works well for you. And if you didn't know, could this tutorial help you to use it? Although there is nothing complicated to do in the end.