 Miracast is the wireless connection standard used by Windows 10 to connect a monitor, projector or TV to your computer, without using cables of any kind. Thanks to this support it is possible to transmit the PC screen to the TV or any other monitor, immediately, obtaining a connection equivalent to that of an HDMI cable. This is particularly useful in laptops, for doing the mirroring dei display and it is also a great way to stream movies and videos from your computer on TV, without the need for other cables, not even a USB cable or devices like the Chromecast.
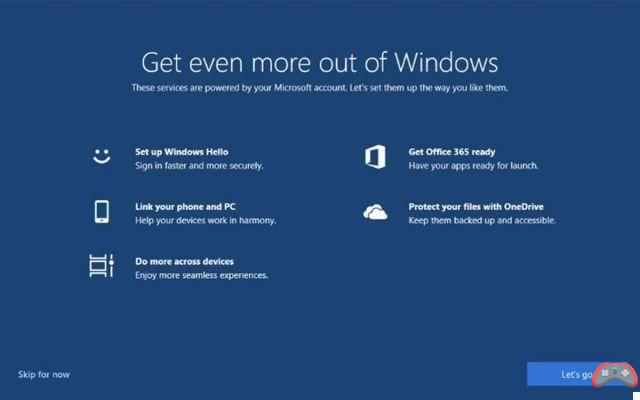
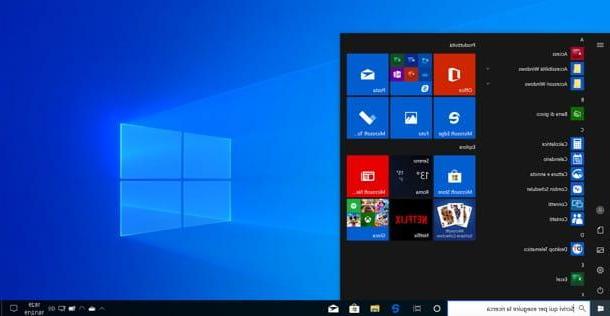
Projecting Windows 10 on a wireless TV like screen with Miracast is really easy: you just need to make sure that the TV (every smart TV supports Miracast), monitor or projector supports wifi connections and activate the feature in the settings. From the PC, then, press the button at the bottom right of the notifications to open the switch panel and use the Project button. You can then decide to see the desktop on the wireless screen or you can duplicate the screen or even extend the screen to use the TV as a secondary monitor.
To use the connection to a wireless display in Windows 10, search the Start menu "Connect to Wireless ScreenWindows 10 will immediately start searching for detected devices and, once the TV appears in the list, you can proceed with the connection.
If the wireless display connection tool is not found, you have to install it: Open Settings> Apps, click on Apps and features and then on Optional features. Then click on Add features and select Wireless screen.
Index Article
- Miracast connection problems on the wireless screen
- Check if your PC and video card support Miracast
- Check the Wifi connection
- Conclusion and other resources
Miracast connection problems on the wireless screen
In case of problems, if using the Project key you cannot find the wireless display to connect, then you can go to the Windows 10 settings, to section devices. Under Bluetooth and other devices, click on Add Bluetooth or other device and then, in the window that follows, click on Wireless Display or Dock.The search should detect the presence of a Miracast-supported device, which you can use to project Windows 10 to your TV or other wireless monitor.
If still nothing is detected or if the connection to the screen does not work, then you need to check if your PC supports Miracast. There is in fact the possibility that the PC is too old and lacks this function or that it is the fault of the video card driver, not updated.
Check if your PC supports Miracast
To check if your PC supports Miracast
, press the Windows - R keys together on the keyboard to bring up the box to execute commands and type Powershell (or search for Powershell on the Start menu and start it)). In Powershell type the command: Get-netadapter|select Name, ndisversion . If the result of the command shows the value 6.40 or higher then it is fine, otherwise, if there is a lower value, Miracast is not supported by the PC.To check that the video card supports Miracast, instead, proceed as follows: open the start menu and search dxDiag to open the DirectX diagnostics page. Here, go to the page dedicated to the screen, look to the right under Driver and look for the Driver Model line: If it is written WDDM 1.3 or higher then it is fine, otherwise the system is not compatible with a Miracast connection.
Also, still from DXDiag, then press the Save all information button and save the DxDiag.txt file in a folder or on the desktop.
Open the generated txt file and search inside the Miracast line; if it says Available, with HDCP then it's fine, if it says Not Available then the computer doesn't support Miracast and there isn't much to do.
Check the Wifi connection
Miracast uses Wi-Fi Direct technology for its connection so you need to be sure that the devices, i.e. computer and TV or other wireless screen, are connected on the same wifi network.It is also important that the PC is not connected via VPN and therefore disable any VPNs.
Also, if the connection doesn't work, try also disable the firewall Windows 10, in Settings> Update & Security> Windows Security> Firewall and Network Protection).
Another way to solve problems with Miracast is to update or reinstall network drivers. To do this, you can open the Device Manager by pressing the right mouse button on the Start button at the bottom left. Here, expand the network cards section, find the active Wireless Network adapter for the computer's wifi, right-click on it and uninstall device. Restart your PC and Windows will be able to reinstall the network drivers automatically.
Conclusion and other resources
In case your TV doesn't have Miracast support, there is a way to add it by buying a device to plug into its HDMI socket. The official Microsoft device is the wireless adapter sold on Amazon. Alternatively, you may also prefer to use an Amazon Fire TV Stick, which has Miracast support.In other articles, to finish, we have also explained how:
- Use the TV as a wireless secondary display of the PC
- See another PC or Android screen in wifi on Windows 10