Necessary
To be able to install Windows XP from USB you first need a pendrive with at least 1 GB of free space, or rather empty, since all the data inside it must be deleted. You also need to an installation CD image file Windows XP and a small free program to copy the operating system files to the stick.
If you don't know where to get the Windows XP image file, don't worry, you can create it yourself by simply inserting the operating system CD into a computer that has a working optical drive and create it yourself. It will take you a few minutes to get the job done and - guess what - you won't have to spend a single cent to get all the software you need. Find everything explained in detail below.
Create a Windows XP ISO image
As I told you, if you don't have a Windows XP image file and / or you don't know where to get it, you can create it yourself using the operating system installation disk. All you need is ImgBurn, a very useful free software to burn CDs, DVDs, Blu-Ray and create ISO files starting from them.
To download ImgBurn on your PC, connect to the program's website using the link I just provided and click on the item first Mirror x - Provided by MajorGeeks and then Download @ MajorGeeks. When the software download is complete, start the file SetupImgBurn_x.x.exe and presses the buttons Yes e Next.
Then put the check mark next to the item I accept the terms of the License Agreement and complete the setup by always clicking on Next and then Yes e Close. If you are asked to install one or more promotional software (eg Ad-Aware, Skype or AVG Tune-Up), reject everything by putting the check mark next to the items Custom installation/I do not agree and deselecting all other options on the screen.
ImgBurn is provided in English. To translate it into cittàn, download the translation file (.lng) via the link I just indicated and copy it to the folder C:> Program Files (x86)> ImgBurn> Languages.
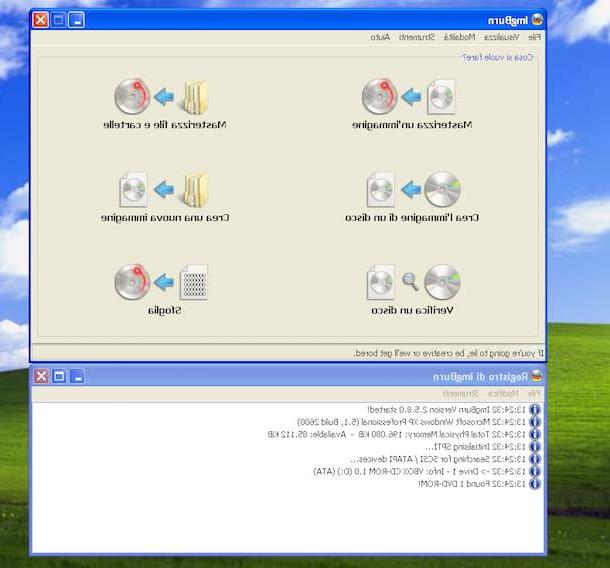
Once this operation is also completed, start the program, select the item Create a disk image from the window that opens and click on gialla poster to choose where to save the Windows XP image file. Then, press onicon with two CDs which is located at the bottom left and wait for the data copying process to finish. This should take a few minutes.
Create a USB flash drive Windows XP
Rufus
How to install Windows XP from USB" src="/images/posts/66294f27ea3d824d472020d0e11772a3-2.jpg">
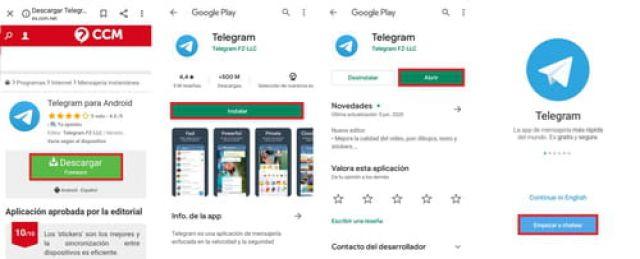
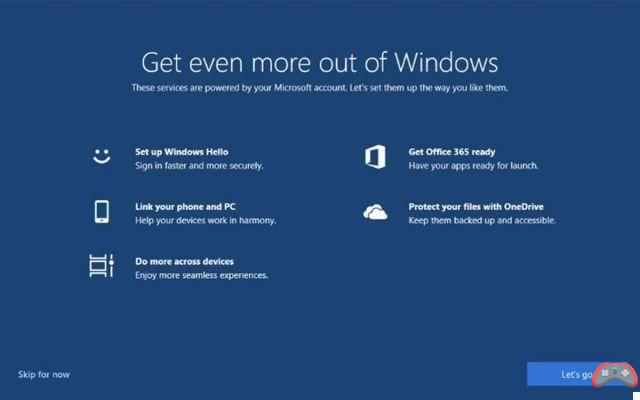
Once you have the Windows XP image file, you need to copy it to a USB stick. But be careful, I'm not telling you to do a simple "copy and paste": what you have to do is download the free program instead Rufus on your computer and create an XP installation USB stick using it.
To download Rufus on your PC, connect to its official website of the same through the link I have just provided you and click on the link Rufus 2.x portable located in the center of the home page (under the heading Download). Then start the file rufus-2.2p.exe just downloaded and first click on Run and then Yes to access the initial screen of the program.
At this point, insert into the computer the USB key to copy the Windows XP installation files to, make sure that in the menu Device / Unit Rufus has selected the correct drive (the one related to the USB stick you inserted into your computer) and set the option MBR partition scheme for BIOS and UEFI-CSM on the menu Partition scheme and target system type.
Then click on the icon CD located at the bottom right, select the Windows XP ISO image and start the creation of your installation key by pressing first on starts and then OK. The procedure will go on for about 15-20 minutes.
If Rufus returns you any error messages (eg. Extraction failed) try to get another Windows XP image file and repeat the process of creating the key.
WinSetupFromUSB
How to install Windows XP from USB" src="/images/posts/66294f27ea3d824d472020d0e11772a3-3.jpg">
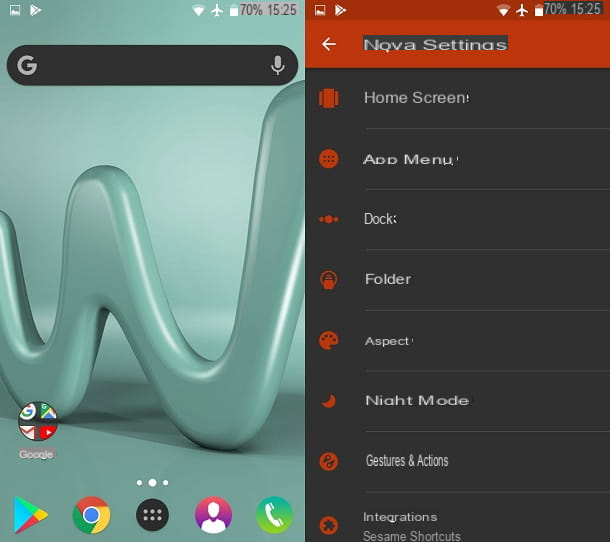
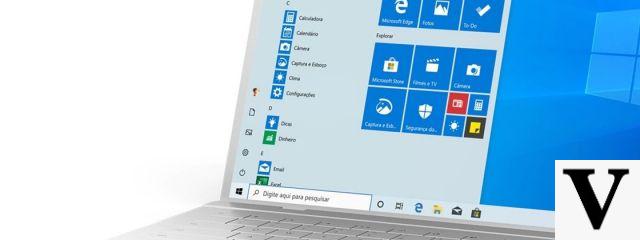
Another program that allows you to create keys to install Windows XP from USB is WinSetupFromUSB, which doesn't work with image files. To use it, you will need to use the XP installation CD directly or mount the operating system ISO file using any of the software suitable for the purpose (if you remember correctly, I explained how to do it in my guide on the subject).
To download WinSetupFromUSB on your computer, connect to its official website of the program via the link I provided you in the previous lines and click on the item first WinSetupFromUSB 1.6-beta1.exe and then on the button Download. Once the download is complete, start the file WinSetupFromUSB-1-6-beta1.execlick on your button [...], select the folder C: e pigia his Extract to extract the program files to C:.
At this point, go to the WinSetupFromUSB folder and start the executable WinSetupFromUSB_1-6.exe. In the window that opens, make sure that in the drop-down menu USB disk selection and forma tools the drive of the USB key on which you intend to copy Windows XP is selected, then put the check mark next to the items Auto format it with FBinst, force CHS, NTFS e Windows 200/XP/2003 setup and click on the button [...] placed next to the latter.
Then select the drive for the Windows XP installation CD (or its ISO image mounted on a virtual CD drive) and first click on OK and then GO, I Accept e Yes twice consecutively to start copying the Windows installation files to the key. The operation will last 15-20 minutes.
Please note: Some computer security software (eg McAfee) report WinSetupFromUSB as potentially dangerous. This is actually a false positive, the program does not contain viruses.
How to install Windows XP
How to install Windows XP from USB" src="/images/posts/66294f27ea3d824d472020d0e11772a3-4.jpg">
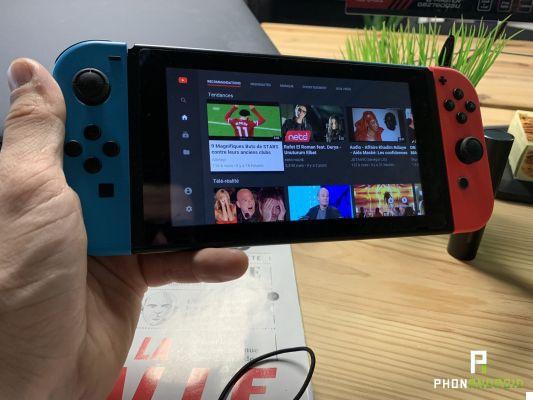
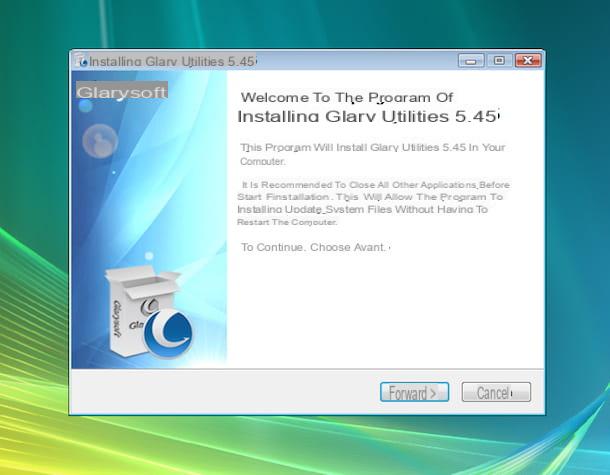
At this point, you can finally take the real action and install Windows XP from USB. To do this, you need to connect the key you obtained with Rufus to your computer (the one on which to install the operating system), restart it and press any key on the computer keyboard when you see the writing appear on the screen Press any key to boot from USB.
If the computer does not recognize the key and starts Windows normally (the one already on the machine), enter the BIOS and change the boot order by setting the USB drive as the primary boot device. You can find more information on how to complete this procedure in my tutorial on how to enter the BIOS.
Can't find the option to boot from USB sticks in the BIOS? Don't panic. Try to download Plop Boot Manager, a free boot manager that allows you to boot from USB devices even on those computers that don't normally support this feature.
To download Plop Boot Manager on your PC, connect to its official website of the program via the link I have just indicated and click on the first link in the download table (eg. plpbt-5.0.15.zip). Once the download is complete, open the ZIP archive that contains the software and extract the contents to any folder.
Then rename the folder Windows contained in the path where you extracted Plop using any name (ex. poplar) and move it to C:. Once this step is also completed, launch the executable InstallToBootMenu.bat, type the letter y in the Command Prompt window and wait for the boot manager to install.
At this point, restart the PC, select Plop Boot Manager from the boot menu and, in the screen that opens, choose to boot from the port USB to start the Windows XP installation process.
If you used WinSetupFromUSB to create the key with Windows XP, in the first setup screen you will have to select Windows XP/2000/2003 setup after that you will have to go to options number 1 (To detect the SATA driver) and number 3 (the one to start the first part of the operating system installation).
For the rest, all you have to do is follow the standard setup of the operating system and, in no time, you will be able to install Windows XP on your old computer with the broken CD player. Then adjust the regional and language options, verify that the country and keyboard layout are set correctly, type your name and your organization (optional) and provide the product key of the Windows XP pair in your possession.
Then indicate the name you want to assign to the computer in the local network, adjust the time zone and network settings, choose whether or not to activate automatic updates and, finally, set your username and then wait a few moments for the desktop Windows is visible on the screen.
The procedure to follow is completely guided and is extremely simple. Anyway, if you need a hand in this phase, you can take a look at my guide on how to format Windows XP through which I have proceeded to indicate in an extremely detailed way how to proceed.
How to install Windows XP from USB