We've already seen how to create and use a recovery drive or disk. With Windows 10 however, you can perform a system restore directly from your computer without the need to use other tools. The important thing is to have previously created a restore point.
The various recovery options i steps to take are very simple. Just turn on the computer and from the home page go to the search bar (bottom left next to the Start menu). On the search bar let's write Restore and the system will automatically offer us the possibility to access the appropriate section inside the control panel. Entering the new page we will find several options: Create a recovery drive, Open System Restore, and finally Configure System Restore. What is important to know is that: Configure System Restore will automatically create a restore point when we install a new application or perform a Windows update.
How it works
System Recovery Configuration is a very convenient feature. It allows us to perform only one operation in the future will create automatically of the restore points that we can use in case of problems or bugs on our PC. Otherwise we can perform the same operation manually, every time we install a new program or an update, using the option Create a restore point. Fortunately for us, the System Restore Configuration is an active feature by default on Windows 10. In practice, when we install the Microsoft operating system, it already begins to act. For greater security, however, it would be advisable to change some settings.
Configure System Restore
To change the function settings Configure System Restore just click on the appropriate section inside the Recovery tab of the Control Panel. In this way we will open a new page, from which we can disable the function (not recommended) or manage some internal settings. For example, by default the tool is configured for use between 1% and 3% of the hard disk space. But we can manually change this setting. When this space is filled, the function simply deletes the automatically created restore points to make room for the new ones. In practice, the more we increase the space available on the hard disk, the more recovery points we will have available over time.
Delete restore point
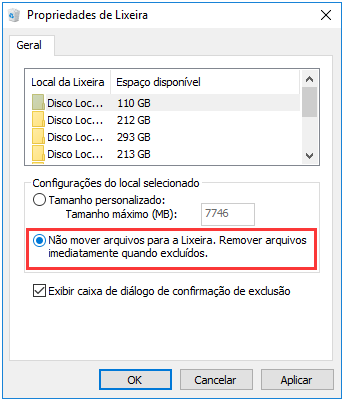
If we want delete any recovery points created previously, just click on the Delete item, again in the Configure System Restore section. This is a drastic solution but may be needed in case of recovery points compromised by malware.
Start the restore process
At this point the only step we are missing is perform a full system restore. An operation to be done in case of serious problems that prevent the efficient use of our machinery. Once you click on “Run System Restore” an automatic process will begin and we will we will simply have to follow the instructions provided. A list will appear from which we can choose the restore point. To know which programs will be saved and which not based on the latest changes made to the machine, just click on the Scan button. Confirming the process, the computer will restart and the restore operation will start. This is a time-consuming process. Once you have completed each phase, a message will confirm that the restoration has taken place and the computer will start automatically.
How to recover deleted files on Windows 10 with System Restore