How to transfer music from iPod to PC for free
The first method you can employ for copy music from iPod to PC, if you use Windows, involves the use of iTunes: the program developed by Apple to manage the multimedia library and devices such as iPod, iPhone and iPad via computers. It is compatible with all major versions of the Microsoft operating system, while in the most recent versions of macOS its functions have been “incorporated” into other system applications.
Before continuing, I would like to clarify that this solution cannot be used on iPod Touch, since the audio file storage system is different from that used on other players of the “family”. Therefore, if you own such a device, I recommend that you use YamiPod, which I will tell you about shortly, or the software Sharepod, which I am going to introduce to you in the chapter dedicated to macOS.
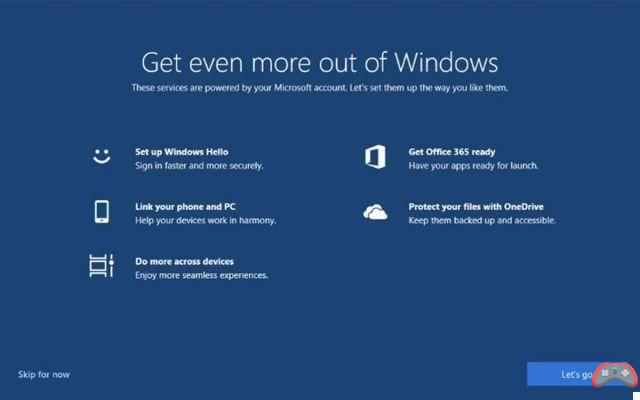
If you still don't have iTunes, connect to its official website and, if you use Windows 10click on your button Get it from Microsoft, in order to access the page dedicated to iTunes on the Microsoft store. Next, hit the buttons Install / Play e Open Microsoft Store, in order to open the "real" market, and click on the button Ottieni / Installa to complete the installation of the program.
If, on the other hand, you are using an older version of Windows, click on the button Download iTunes for Windows (64-bit) now, in order to start the download of the classic installation executable. Then launch the file obtained and press the buttons in sequence NEXT, Install, Yes for two consecutive times e end, in order to complete the setup. If you need an extra hand in completing these steps, I invite you to read my iTunes installation guide.
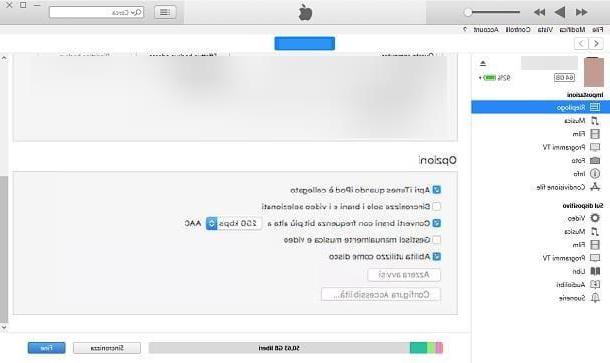
Now, connect the iPod to the computer using the supplied cable and use iTunes to activate the "disk mode", which is the option that allows you to directly access the memory of the media player: after starting the program, click oniPod icon that appears at the top left, select the item Riepilogo from the left sidebar and make sure the entry Enable disk use is selected, otherwise you do it. If this last wording was checked and not clickable, it means that the iPod can already be used in this way.
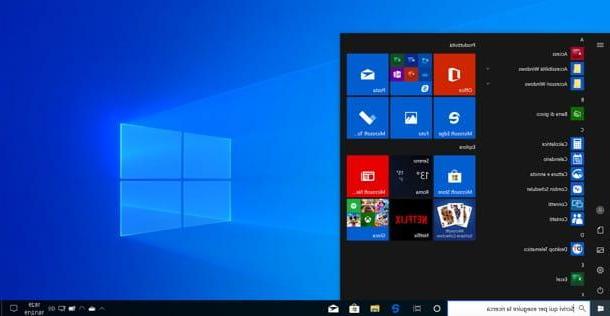
After this step, close iTunes, start theFile Explorer / Windows Explorer Windows, via the icon in the form of gialla poster placed on the taskbar, and click on iPod name, which should appear in the left sidebar. Next, click on the tab Show (top) and put the check mark next to the item Hidden elements, in order to enable the display of hidden files.
Almost there: now access the folder named iPod_control, which should appear in the File Explorer / Windows Explorer, and copy the entire folder Music which resides inside it in a "comfortable" position, for example on the desktop. To finish, disconnect the media player from the PC, start again iTunes and proceed to import the previously copied directory into the program's multimedia collection, using the menu File> Add Folder to Library .... Once the import is complete, you will be able to play all the copied songs through Apple's media player.
How to transfer music from iPod to PC without iTunes
If you prefer to avoid iTunes, you can rely on instead YamiPod, a portable (that does not require installation) and multi-platform software, which allows you to copy the music stored in the iPod to your computer. The program can be downloaded for free from its home page: after connecting to it, click on the item downloads which is at the top and then on the link YamiPod for Windows, placed under the heading Binaries, to start downloading the archive containing the program files.
Next, extract the package obtained in a folder of your choice and, after checking that iTunes is closed, launch the file YamiPod.exe which is located inside. Now, collega the iPod to the computer via cable (if you have not already done so), click on the button Yes located in the message box relating to possible interference with iTunes and, if requested, indicates the model iPod in your possession and press the button OK, to start the memory analysis (which may take a few seconds).
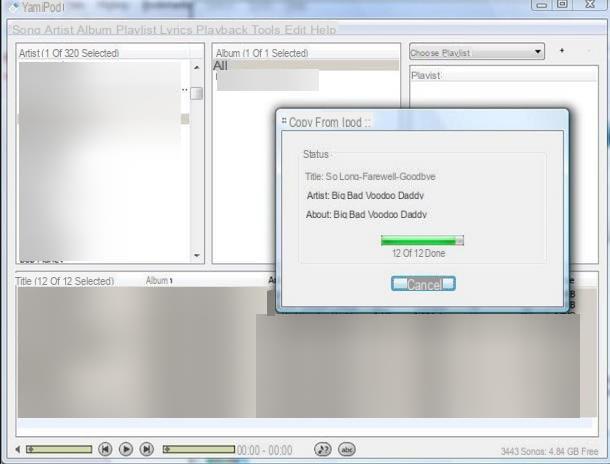
Once you have reached the main screen of the program, locate the songs or albums of your interest (using the appropriate columns) and, with the help of the button Ctrl, select the items you want to copy; to select them all, click the item instead All corresponding to the column of your interest.
When you are done, right click on one of the chosen songs, choose the voice Copy song to… located in the menu that opens and, using the next screen, specifies the format the name to be assigned to the files (pull-down menu Filename); therefore choose how to organize the files (menu Destination Path), click on your button Destination (to select the folder where you want to save the files) and press the button OK, to start the copy process. Files transferred in this way will be stored in the location indicated above, in AAC.
How to Transfer Music from iPod to Mac
If what you use is a Mac, you can transfer songs from iPod to computer memory by relying on Sharepod, a multi-platform program that allows you to transfer music from iPod to Mac with extreme simplicity.
However, I think it is right to make a clarification on this: starting from macOS 10.15 Catalina, the copied songs can no longer be automatically imported into the Music media library because, unlike what happened previously with iTunes, it is not possible to share information relating to the system music library, at least no longer in XML format.
This feature, which does not appear in the Music application, is in fact essential for the direct import of files; however, it is still possible to copy the tracks to disc and import them "by hand" at a later time.
Before you even proceed, also make sure that your iPod is in mode external drive: After connecting the player to the Mac, open the Finder (l'icona del cartoon smiling located on the Dock), Click on name of the media player located under the heading devices, in the left sidebar, locate the box options (right) and put a check mark next to the entry Use as a disk, if not already there.
Once this operation is completed, you can proceed with the download of Sharepod: then go to its main page, click on the button Download Sharepod and, once the installation file has been downloaded, start it and, using the Finder window that appears on the screen, drag the Sharepod in the folder Applications from the Mac.
Now, launch the program you just copied, uncheck the box Always show this window when Sharepod starts and presses the button Done, to access the main software screen. If prompted, click the button OK attached to the warning message regarding the unavailability of the iTunes XML library: as I specified earlier, the sharing of the latter has been deleted starting from macOS 10.15 Catalina.
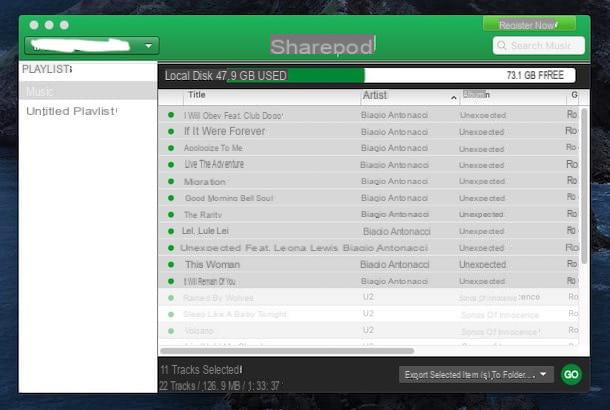
After a few moments, the central part of Sharepod should show you the entire music collection available in the iPod. Now, helping you with the keys cmd o ctrl, choose the songs you are interested in copying, one at a time. To transfer them, then move the drop-down menu located at the bottom right on the option Export Selected Item(s) to Folderclick on your button Go, indicates the folder where to export the files and complete everything by clicking on the button Choose.
Once copied, the audio files will be available in the directory chosen previously, in .m4a: To play them individually, just double-click on their icons. If, on the other hand, you are interested in adding them to the media library of Music, start this last application, go to the menu File> Import (top left) and, after selecting the folder containing the previously copied songs, click on the button apri.
How to rip music from iPod to PC