How to make a timelapse in a few steps. A timelapse is a kind of time-lapse video in which we see part, all or several days pass before our eyes. It's a great way to appreciate slow moving phenomena and show off their majesty. Follow this tutorial to learn how to make them!
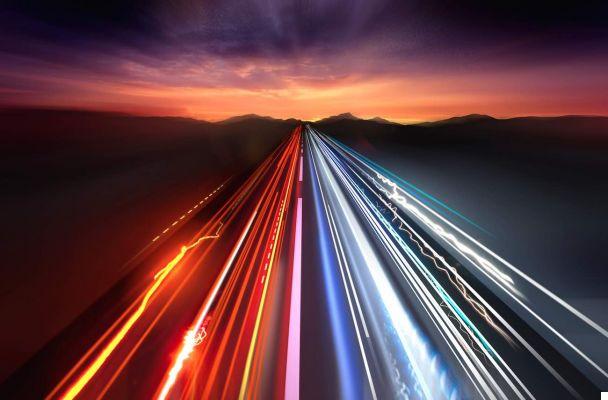
A timelapse can really be impressive, since such a video is used to scroll time over a landscape, and that in accelerated. It is not uncommon to see some of the most beautiful places on the planet, to see some meteorological phenomena being captured in this way, before being shared on the Web, to the delight of our eyes.
You are probably wondering how these spectacular videos are made, well good news, this tutorial is here for that!
The necessary equipment
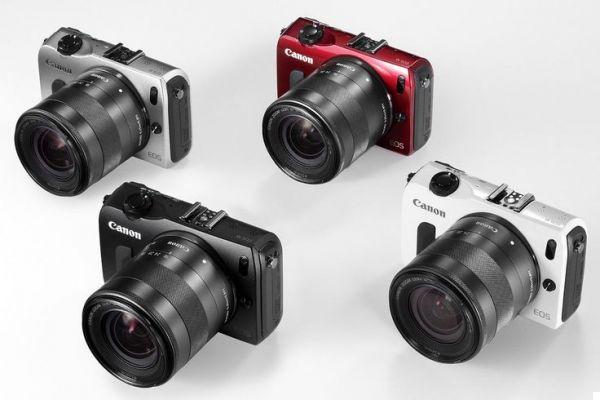
The first thing to do is of course to have a camera, but be careful to choose a quality one. Even if it is quite possible to make a timelapse with your smartphone, which we will see later, choose a hybrid like the Canon EOS M which will do the job very well.
The camera will have to be disengageable, since if you thought of using the automatic mode, the focus and the exposure will change constantly, and you will then end up with certain photos lighter, or darker that others. Shooting mode and focus must therefore be set manually.
In addition to this, it will have to allow interval shooting, whether this is integrated, or via a socket to connect an external system.
We should also not forget another very important element, a tripod. It may seem obvious, but this one will allow your camera to remain stable, and thus achieve the perfect shots.
Then you can, if you wish since far from being essential, use an intervalometer, this small device can help you in the realization of a timelapse. Some high-end cameras already have a built-in intervalometer, so be careful not to buy one if your camera has one.
This object simply allows you to set shots at regular intervals, and thus make it easier for you to create your timelapse.
Finally, it is necessary to plan time, as well as a memory card of very large capacity. It will take time depending on the desired duration of the timelapse, which can range from a few hours to several days, and a substantial memory card to save the multitude of shots. A 4 GB card can be fine for a short take, except if you decide to record the result in RAW, in which case it will then be necessary to count a minimum of 8 GB.
Choose the frequency and number of shots
Once you have the equipment in your possession, the next step is to choose the frequency of shots, and the number of shots to be taken in this period of time. This will vary depending on the environment, and therefore depending on the scene you want to capture.
For example, to capture people who move, it will be necessary to program a shot every two seconds or so, while taking a weather report on a landscape can be done with a photo every 10 or 15 seconds.
It is very important to adapt the number of takes and their frequencies to your environment, since this is what the fluidity of the final result will depend on. Do not hesitate to experiment to find the ideal setting, and thus obtain a fluid timelapse, which is pleasant to watch.
Start timelapse sound recording
Once the first two steps are completed, the most difficult begins, since it is time to start taking photos for the realization of your timelapse. Only a few steps are necessary, but essential to obtain a satisfactory result, which will be a real treat to watch.
- Make sure your memory card is blank, or has enough free space to save your snaps
- Charge the battery of your camera to the maximum before leaving, it would be silly to lose photos due to a battery problem
- Position your camera on the tripod, and frame your shot
- Set the camera to evaluative metering, this should normally be the default mode, and will allow it to calculate an average exposure value based on the entire frame
- Set the exposure manually, with an average aperture between 5,7 and 6,3, an ISO sensitivity of 100 or 200, and a shutter speed providing the perfect exposure
- Achieve focus, and disengage the autofocus by switching it to manual, which is normally represented by an M.
- In case of realization of a landscape timelapse, do not forget to adjust the hyperfocal, this in order to obtain the largest possible zone of sharpness
- Choose the desired photo format. Whether JPEG or RAW, make sure the quality is maxed out, and if the resolution is higher than HD, 1920 x 1080 pixels, choose a size S
- Make a first test with a photo, and do not hesitate to look at the smallest details of this one, whether it is the sharpness or the depth of field. This will save you from making a large number of snapshots, to finally send them to the trash
- (Optional) Grab your intervalometer, plug it in, and set it up
- Everything is good, you just have to wait patiently for all your photos to be saved, and then you will only have to do the editing
The realization of the timelapse
Now that your photos are taken, all that remains is to edit all this using dedicated software. Whether you are on Mac OS, Linux or Windows, there are some free software that will make your job easier. Of course, you are free to use the one of your choice, whether it is present in this short list, or not.
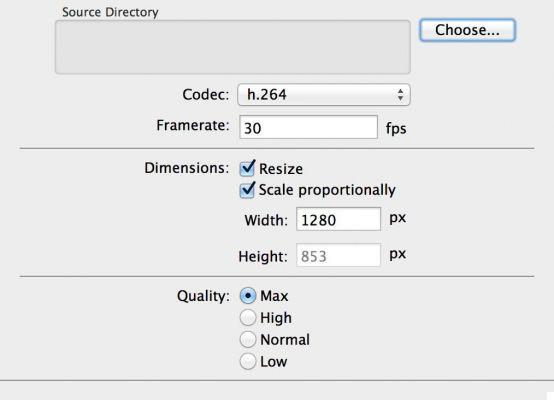
Time Lapse Assembler for Mac OS
With a very simplistic interface, just follow the instructions of the menu displayed on the screen by choosing your photos, the size of the video, the quality, the number of images per second, and the desired codec. All that remains is to press “Encode”, and the software takes care of the rest. However, you will have to add music via external software such as Adobe Premiere Pro, otherwise your video will seem very sad.
>> Download Time Lapse Assembler <
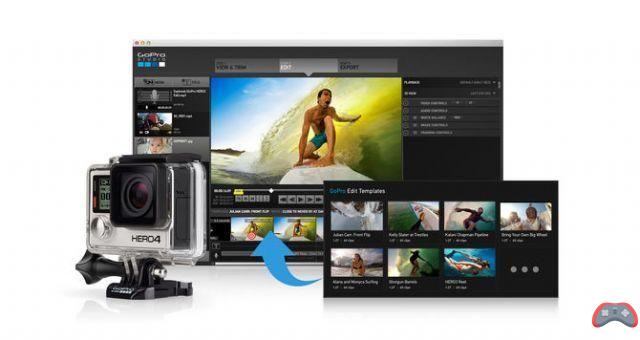
GoPro Studio for Windows and Mac OS
It is simply the software for the famous sports camera. This one doesn't require a GoPro Hero 5 to work, and you can add background music as a bonus without any other software. GoPro Studio is very easy to use, since you just have to tell it where your images are stored, your music if you want one, and the software does the rest by itself.
>> Download GoPro Studio <
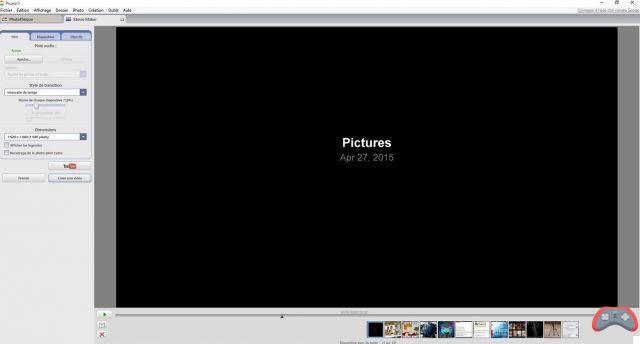
Picasa for Windows MacOS and Linux
It is undoubtedly the best known of the three mentioned here, and is also intended to be intuitive to use. Simply select a folder, choose “Creation”, then “Movie” and finally “From Selection…”. Then all that remains is to set the transition system to “Time interval”, put the duration of the slides to “1/24 s”, choose the size of the output video, add music if desired, then create the video.
>> Download Picasa <
Once your video is made, all you have to do is share it with your friends and family, or the whole world via YouTube, Dailymotion or any other video service.
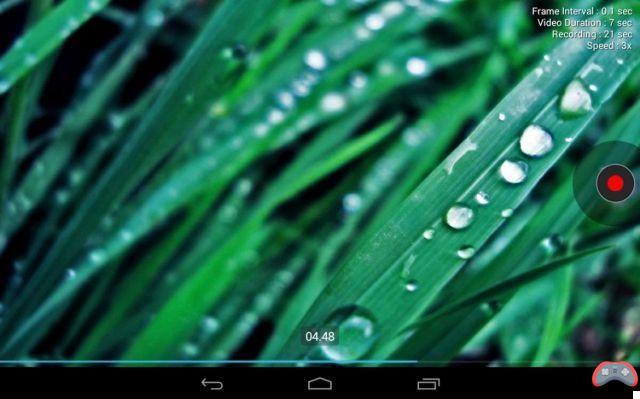
Make a timelapse from your smartphone
Given the quality of the cameras contained in our smartphones today, it is not really surprising to see various applications arriving that offer the creation of timelapses. Here, all you need is a tripod, your phone, and one of the many apps available.
To help you in this task, here are two Android applications that manage to stand out, and offer the necessary parameters to create a timelapse:
Framelapse Time Lapse Camera – Available in a free version, without ads, and a pro version, it is complete, and allows you to take high quality shots. The pro version costs only €3,17, and offers some additional options like custom capture duration, longer capture interval.
Or screen standby during capture. This last option could well save your battery, so don't hesitate to put your hand in your wallet slightly to make sure that your timelapse will be done correctly.
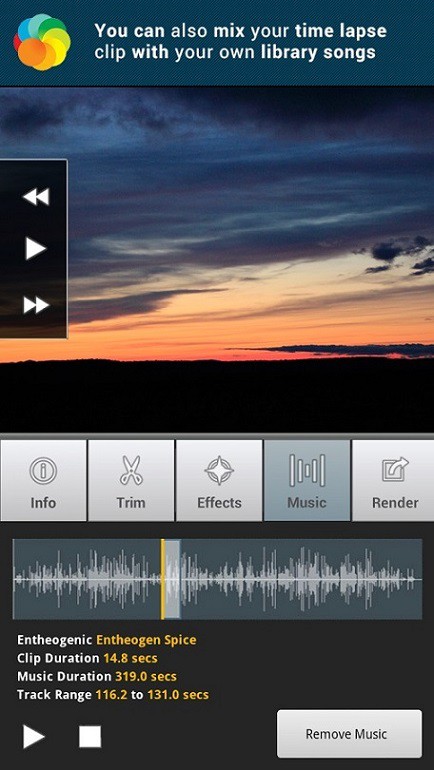
- Lapse It – Just like Framelapse Time Lapse Camera, Lapse It comes in a free version, and a pro version. The interface is clear and intuitive, and the parameters needed to create a timelapse are present. Its little extra lies in the fact of being able to add an effect as well as music once your video has been recorded, and this without any other software. The only complaint is that you have to upgrade to the pro version to be able to take high quality shots, which is very meager compared to the possibilities.
 You now have all the cards in hand to create your own timelapse, and offer the whole world a glimpse of an accelerated landscape. If you ever embark on this sublime adventure, do not hesitate to share your creations in the comments.
The editorial advises you:
- Google Drive backup and synchronization: how to back up data on your computer
- Insufficient storage: how to clean your Android smartphone
- How to know if your PC is powerful enough to play video games