10
With the term “screenshot"Means, in fact, the snapshot of a computer or smartphone screen, which documents an activity done, captures images from the web or allows you to carry out some work activities. For example, it is widely used to illustrate installation manuals and user guides, although it has some limitations. The captured image, in fact, has the same resolution as the monitor: its quality is certainly not comparable to that of one photo in HD, and is therefore not suitable - for example - to be printed. Therefore, if the screenshot has an editorial publication as its purpose, it will be possible to intervene with a software that allows you to define the dpi of image capture, or using purely photographic systems. To take a screenshot with Windows just press the "Print" key. But if instead of the whole screen you need to take only a part or an image, being careful about size and resolution, things change. You could open screenshots with Paint and then modify it to your liking, but this would still take some time. The best solution is to take a screenshot, whole or a single part, directly from the screen of interest, quickly and easily.
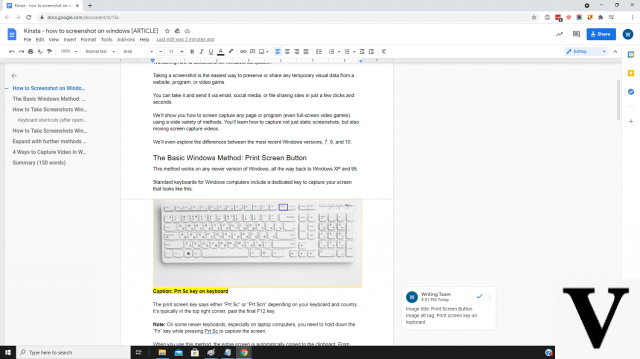
First of all, it is good to specify that the advice shown in this intuitive guide applies to all computers with Windows XP o with a version top of the operating system (and therefore also for Windows 10). However you take the screenshot, it is also important to understand where - that captured image - can be found. To save a screenshot in a specific folder, press the button Windows, that is, it is the typical logo window of the operating system, plus the key Print Screen (often indicated in cittàn keyboards with Stamp). If you press only the second key, the screen printout will not be saved but only copied and will be ready to be pasted. Pressing Win + Print Screen the screenshot will instead be saved in the "Screen captures"Inside the folder"Images".
If you don't want to save a screenshot, but just use it right now on services like Paint or Word, just press the key Print Screenn o Stamp depending on the type of keyboard you are using. At this point the screen has been copied, open the program and press Ctrl + V to paste the image: you can then modify the file to your liking and then save it where you prefer; or, take a new screenshot and this time save it in a folder, simply using the Win + Stamp keys.
If you wanted to take it screenshot of an application in use, or of a single open window, without saving it in a folder, just press the Alt + Print Screen keys and open Paint or Word, pasting the screen print with the combination Crtl + V. At this point you can edit the screenshot, cut it or join it to another already captured previously, and then decide whether to save it as a file or - by pressing Win + Print Screen - send it to the "Screen captures" folder.
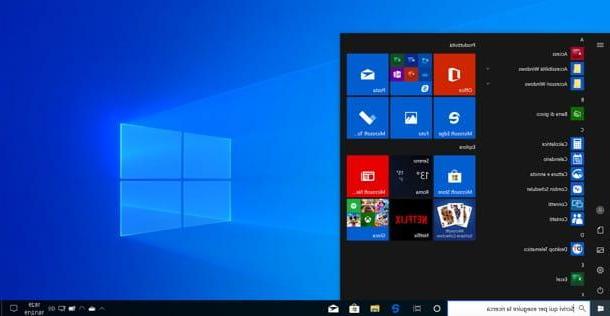
If you want to take a screenshot of only one part of the entire screen, using the intuitive keyboard controls may not be enough. It is in cases like this that the "Snipping tool”Present by default on Windows. How to do? Go to the Start menu, then to "All Programs" and finally choose the "Accessories" item. Or, in a simpler way, just type in the Windows search bar “Snipping tool”To find it. Once the instrument has been chosen, click on the wording "New". Thus, you can choose to capture a part of the screen with a rectangular cut or do it freehand, deciding the shape of your screenshot. Once finished, it will be automatically saved on your PC and you can choose the destination folder. There are several file types available, including GIF, PNG, and JPG.
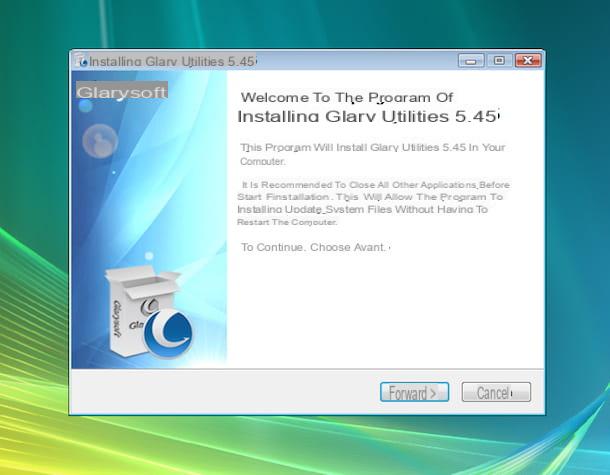
If the Snipping Tool isn't accurate enough for the task you need to do, you can use third-party apps such as Sizer, which allows you to resize the captured screenshots according to your needs. The first step is to download the app from the Sizer website. Subsequently, once the app is launched, you have to choose the size of thelo screenshot. There are two ways to launch the app; left click on the app icon, or right click on the top bar of the program. Sizer works with all 32-bit Windows operating systems and is a recommended app for bloggers, graphic designers or web designers. But also simply for all users interested in making perfect screenshots that do not waste time in editing.
The complete guide to taking perfect screenshots on Windows