 With some programs it can be very useful to have a second monitor connected to the PC, so that we can open a greater number of windows without minimizing everything and immediately have what we need at hand.
Instead of buying a second monitor, we can use the TV in the bedroom or living room as a secondary monitor, which can also be connected wirelessly (with the right prerequisites).
In this way, in addition to having a larger screen for office programs, we will be able to use the TV to run multimedia programs or watch streaming videos available on the Internet on the TV, simply by dragging the desired window onto the TV, after having correctly connected it.
So let's see how use the TV as a secondary display of the wireless PC, without cables, with the mode of Windows 10 duplication.
Index Article
- Device prerequisites
- Connecting devices
- Use the TV as a wireless secondary display
- What if the TV doesn't support Miracast?
- What if your PC doesn't support Miracast?
1) Device prerequisites
In order to make the connection between PC and TV, without using any cable, we will have to take advantage of Miracast technology.
Before doing anything so let's make sure that our TV is compatible with this protocol, otherwise it will be impossible to connect.
We can check if Miracast technology is present checking the instruction booklet of the TV in our possession, by checking the data sheet online (a quick Google search should provide the manual of any modern television) or by checking between the apps and settings of the Smart TV.
As a general rule we can tell you that all TVs labeled as Smart produced from 2022 onwards integrate Miracast, but it is always advisable to check to avoid nasty surprises (especially with TVs of unknown or low-cost brands).
On the PC we will have to have as an operating system Windows 10 and use a network card and a video card that fully support Miracast: in case of incompatibility of only one of the components it will not be possible to take advantage of this protocol.
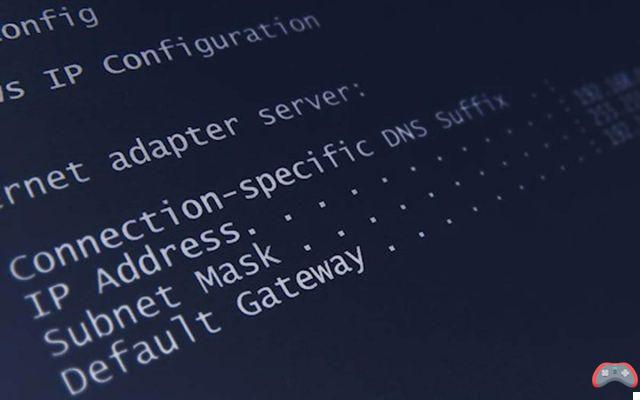
To check if the WiFi card and video card used on the PCs are compatible with Miracast, launch the DirectX diagnostic tool, which can be called up from the Windows Start menu by typing:
dxdiag.exe
Once the window is open, we wait a few seconds then click on at the bottom Save all information, so as to generate a text file that can be saved in an easily accessible location (even on the Desktop).
Let's open this text file and look for the Miracast entry (we can help ourselves with the CTRL + T or CTRL + F keys to find it); if the wording is present Available, with HDCP, then Miracast is available on this PC; if we find Not Supported or other abbreviations, we cannot use Miracast for this type of connection.
2) Connecting devices
If the TV and PC meet the above requirements, then we will need to connect using our home network as a "means of transport".
The ideal is to connect Ethernet cable TV to the home modem, so as to have the highest quality and the absence of interference, but rightly we cannot have many cables around the house, plus this guide is designed for those who want connect the two devices without using any type of cable (if the TV and the PC are close enough to be connected to the same modem, we might as well use an HDMI cable between the two and save yourself all the steps!).
The TV must therefore be connected to the home WiFi network: open the television settings and go to the menu Network (o Network), so as to be able to start the detection of WiFi networks and connect to the wireless network of our modem.
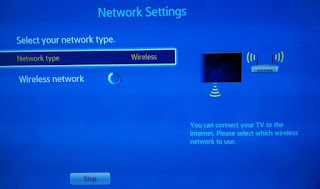
When prompted, we set up the wireless connection, select our home network and enter the access password.
After a few seconds the connection will be made and the TV will be ready to receive the Miracast signal from any PC on the network.
The PC can be connected either via Ethernet cable to the home modem or via WiFi: the first solution is the simplest, the second the most practical to use (especially if we have laptops or desktop PCs in other rooms of the house).
Now that all devices are connected to the same modem, we will show you how to take advantage of Miracast and use the TV as a wireless secondary display.
3) Use the TV as a wireless secondary screen
Now that we've made the necessary connections, let's make the most of Miracast to get our secondary monitor for the PC.
Let's turn on our Smart TV and make sure to open the app or the menu section reserved for Miracast connections: on LG Smart TVs the app to open is called Screen Share, while on Samsung Smart TVs the menu to visit is AllShare, where we can find the menu Screen Mirroring.
If we do not find the right menu, we always consult the user manual of the TV to understand how to adjust.
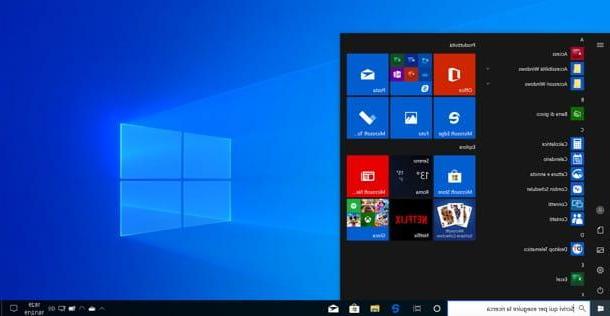
Open the right menu or app on our TV, turn on our PC now and, once on the Windows desktop, click on the icon of the Notification Center (next to the clock and date), then clicking the button Connect.
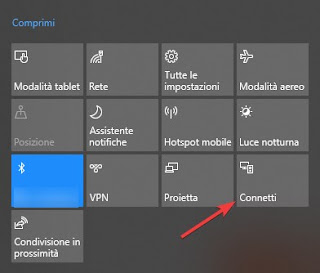
A search for compatible devices on the network or nearby will start immediately; after a few seconds we will see the name of our Smart TV connected to the network appear, identified as Screen.
We click on the name of our TV and wait a few seconds: the computer will connect to the TV and we can finally use it as a secondary screen.
To be able to adjust the type of projection visible on the TV, we open the Notification Center again and click on Project, choosing the right solution for our purposes.
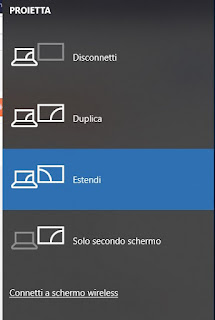
We can create a copy of our desktop using the key Duplicate, we can extend the desktop to the right using the key Extend or use only the TV as a screen by clicking Second screen only.
To turn off the connection we can use both the button Disconnect present in the Project menu or use the key Disconnect present in the Connect menu, under the name of the TV to which we are connected via wireless.
Note: Connecting via Miracast Windows will play system audio (including program sounds) on the TV speakers.
ALSO READ: How to use Miracast on Windows 10: problems and wifi screen connection
4) If your TV doesn't support Miracast
If the TV we do not own is not Smart or does not have Miracast support (while our PC is compatible), we can bring Miracast support to any TV by connecting an adapter like the one offered by Microsoft to a free HDMI socket, i.e. 'Wireless Display Adapter (51 €).
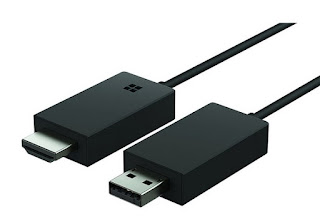
It connects to the HDMI socket of the TV, supplies electricity via the USB port of the TV or a mobile phone charger and connects to the home WiFi network, so as to immediately have Miracast support.
Obviously, in order to take advantage of it we will have to select the HDMI output to which it is connected via the key Source o Source on the TV, then follow the steps already described on the PC to connect the TV with Miracast.
Alternatively, it can see PC screen on TV taking advantage of one of the better functions of the Amazon Fire Stick, as explained in another article.
5) If your PC doesn't support Miracast
If the problem is the PC instead (it has not passed the check using the DirectX diagnostic tool), we can try to solve it by updating all the drivers on the PC, using a free tool such as Driver Booster, downloadable from here -> Driver Booster.
Once downloaded we launch the program and update all the drivers reported as old or obsolete, in particular the video card drivers and the wireless network card drivers.
If not even with the driver update we have solved it, we can connect the TV as a secondary wireless screen using the Chromecast, regardless of whether the TV is compatible with Miracast or not.
In another article, the guide for buy the Google Chromecast.
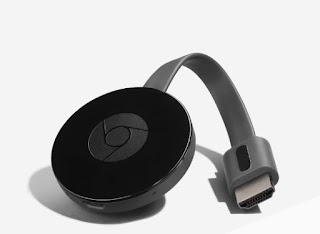
Once the device is obtained, connect it to a free HDMI port on the TV, to a USB port (or use a mobile phone charger) and finally connect it to the home wireless network, as described in our dedicated guide -> Chromecast guide with 18 tricks and applications to use it to the fullest.
Now that it is connected to the TV and is visible on the network, we install the Google Chrome browser on our computer, which can be downloaded for free from here -> Google Chrome.
Once installed, click on the three dots at the top right, then go to the menu Broadcast.
Here we can choose what to send to the Chromecast, by clicking on the small menu at the top (small triangle).
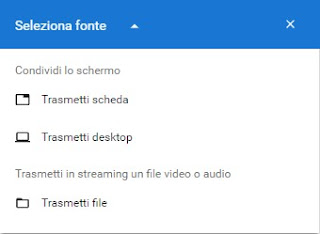
We use the key Send card to cast a browser tab or Cast desktop to cast full screen, as if we were on Miracast (much like the Duplicate present in Windows).
Made the choice, now click on the name of the Chromecast to make the wireless connection between PC and TV.
NOTE: : the PC audio can be reproduced on the TV also through the Chromecast, both in case of transmission of the card and in case of transmission of the entire desktop, just select the item Cast audio in the preview window.
READ ALSO -> Connect PC or laptop to TV to watch videos and movies