Search
Visited
Popular
Recent
Discussed
Valued
Shared
Discover all the tricks to activate the hidden functions of your devices activationtrouble
How to uninstall Windows 10
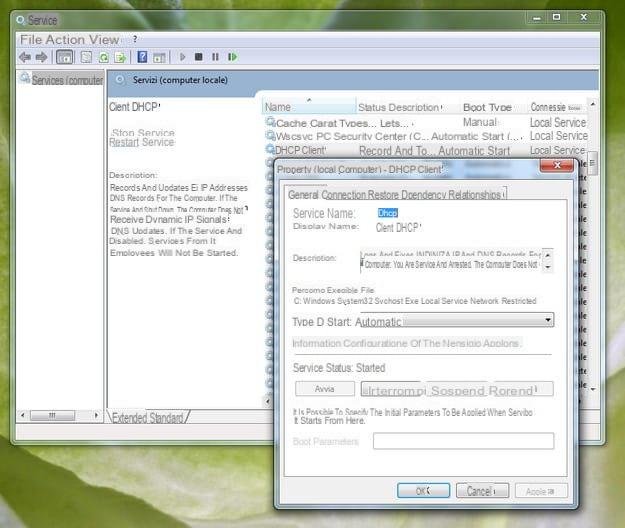
How to enable DHCP Windows 7
How to Install Clash Mini in Spain
How to turn Windows XP into Windows 7 for free
Previous
Following
Red Dead Redemption 2 on PC: Rockstar finally explains why bugs affect some players
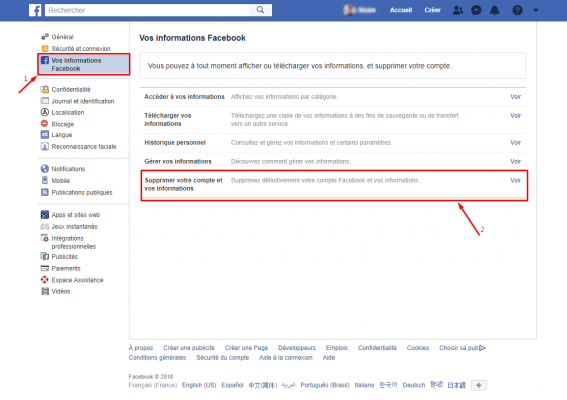
Unable to delete Facebook account?
How to transfer your Adobe Lightroom library
Instagram no longer wants third-party apps
The most popular
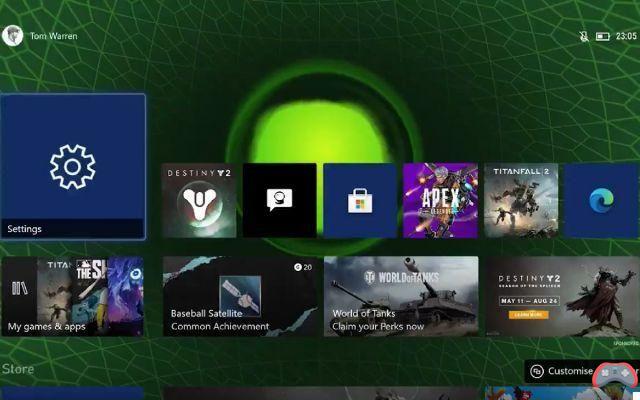
Xbox Series X / S: Microsoft adds the theme of the first Xbox for the 20th anniversary of the console
Push notifications: subscribe, unsubscribe...
How to disable google assistant on any device
Cheap Nintendo Switch: where to buy it at the best price?
Google Pixel 6 test: the return of the king photophone
Facebook removes dark mode in Android and iOS app
Android: the best weather apps
Enable Windows Defender: basic protection
How to change computer sounds
Windows 10 S: uninstall yes, reinstall no
Instagram launches a novelty to make your confinement less boring
Windows 10, still problems: displays the wrong icons
Spotify adds a handy sleep timer to its app
Trends
Disattivare i download di file in Chrome e Firefox
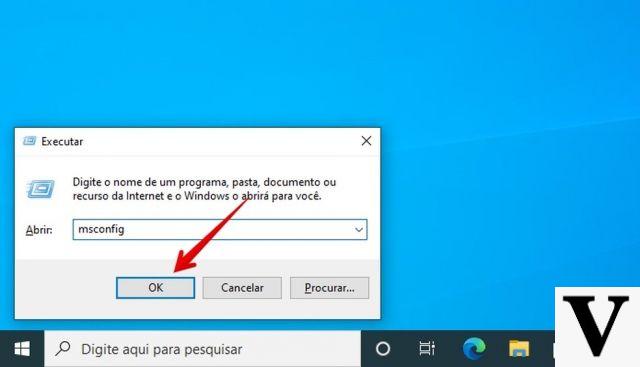
How to download all Windows updates in one go
5 tips to prevent your smartphone from overheating during the summer
Download ViaMichelin APK free on Android
Delete suggestions from Chrome and Firefox on address bar and text boxes
To stem child pornography, Instagram limits certain hashtags
Single Day AliExpress: here are the top offers to grab before the stock runs out!
Sony XR-65A90J TV test: the high-end Oled brighter, faster and more practical
How to remove Windows viruses in safe mode
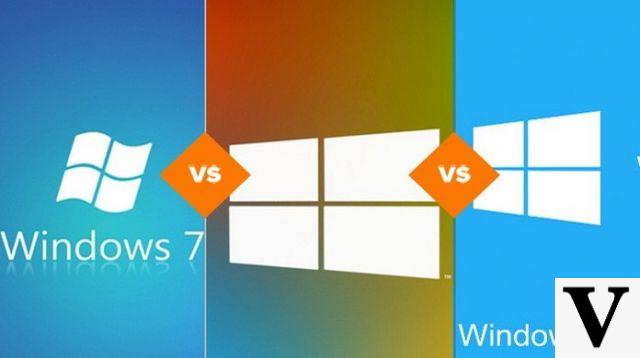
Windows 7, last call: what's going on


 Search
Search
Search