Search
Visited
Popular
Recent
Discussed
Valued
Shared
Discover all the tricks to activate the hidden functions of your devices activationtrouble
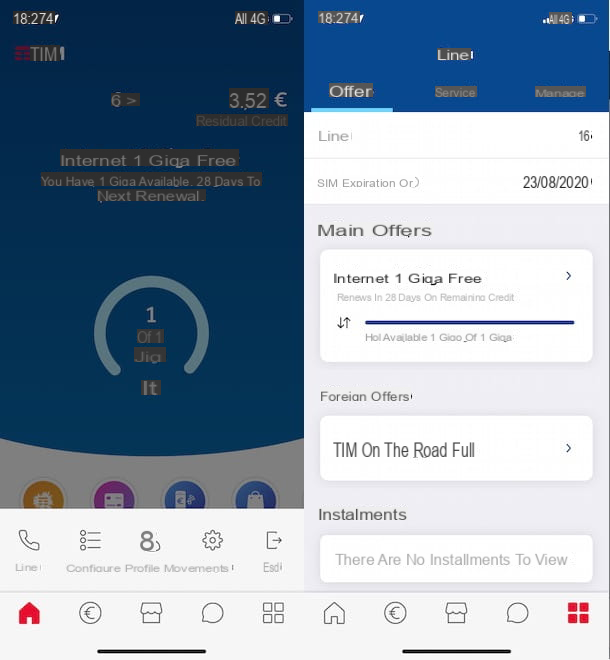
How to disable TIMMUSIC
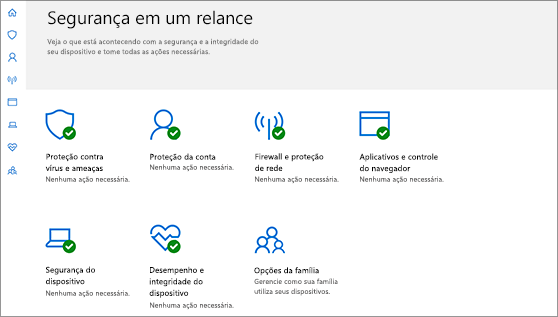
Windows 10: Updates to improve computer security
How to install Windows from USB
Xbox Game Pass comes to Windows 10 with over 100 games
Previous
Following
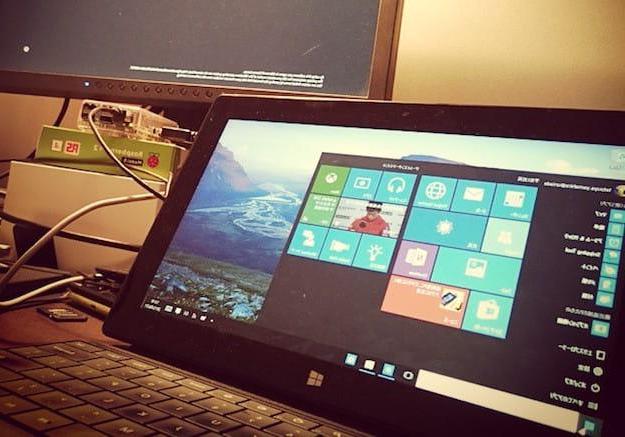
How to make a DIY retrogaming console with a Raspberry Pi and Recalbox
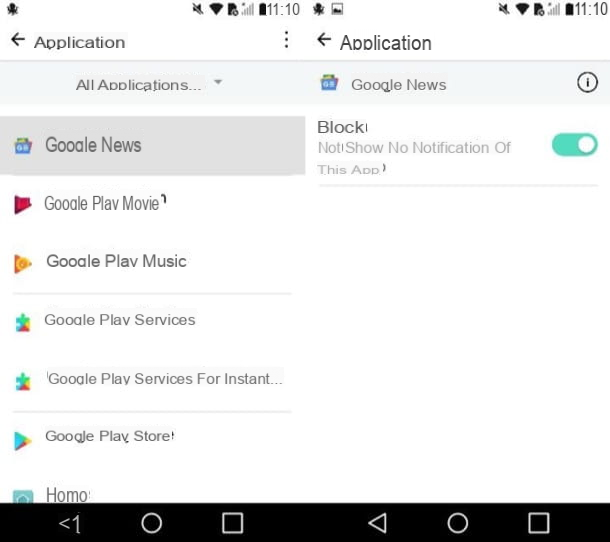
How to disable Google News
How to change your Windows 10 username
Instagram Direct allows you to send private messages: like Snapchat…
The most popular
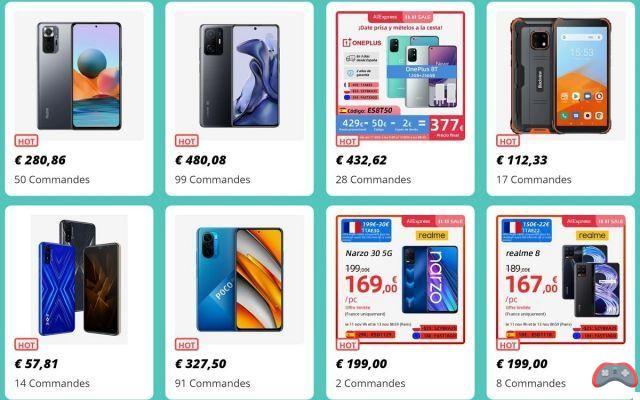
Single Day AliExpress: here are the top offers to grab before the stock runs out!
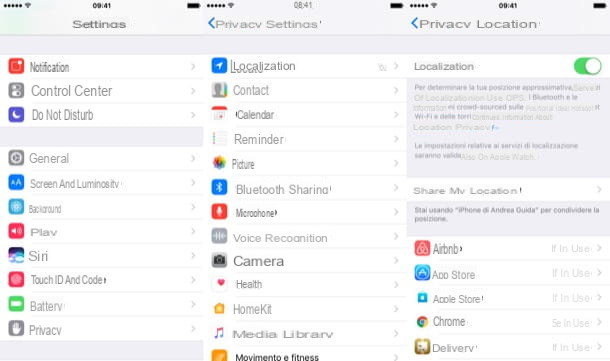
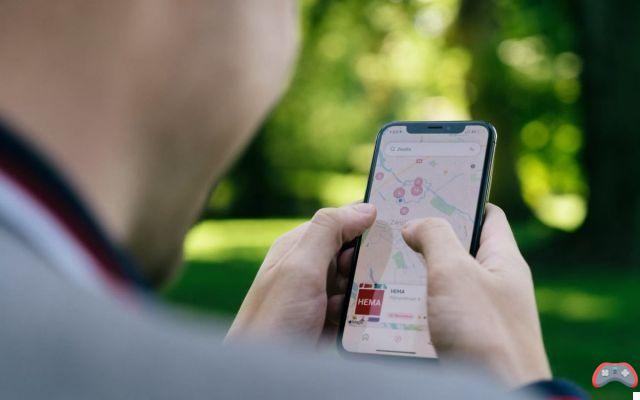
How to activate iPhone location
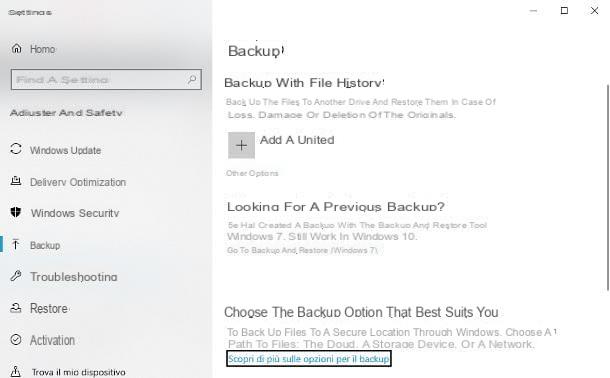
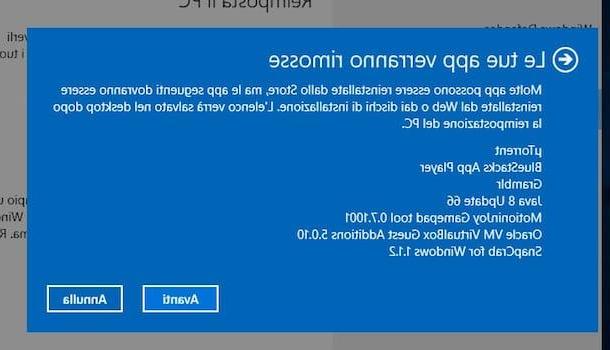
How to reset a Windows 10 PC
How to block the saving of visited sites in the browser history
Instagram is also launching its own Portrait mode
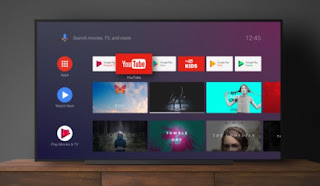
What is the difference between Google TV, Android TV and Android Box?
Google Maps on iOS: dark mode is available, here's how to activate it
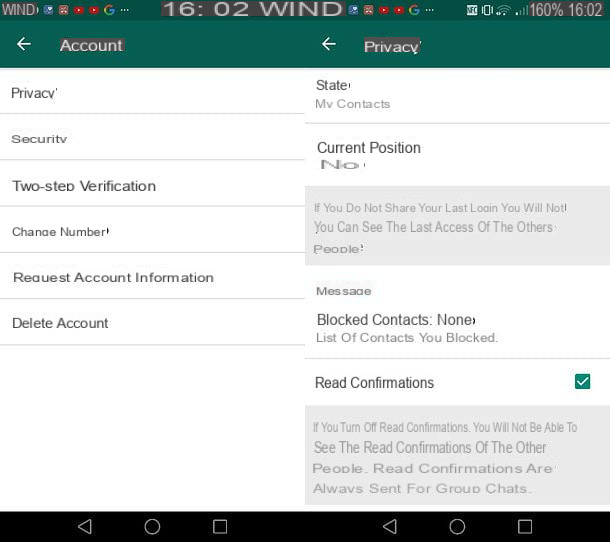
How to Activate and Deactivate the Blue Check in WhatsApp
FIFA 18: release date, price, news and best players, all to know
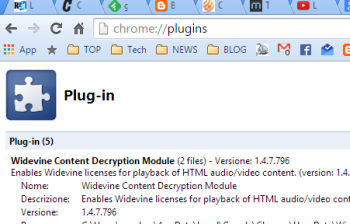
Chrome has Java, Silverlight and NPAPI plugins blocked
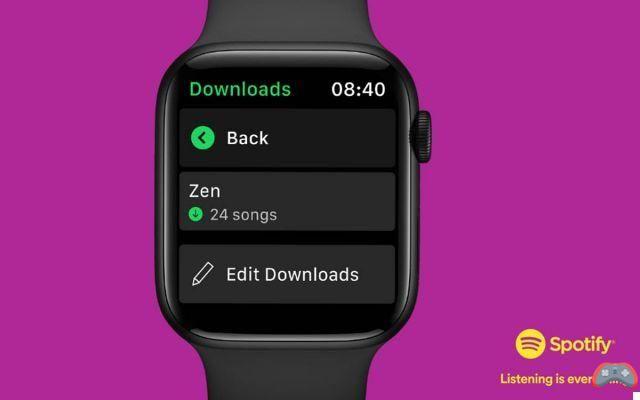
Apple Watch: Spotify finally allows you to download music
How to disable the Windows key on the keyboard
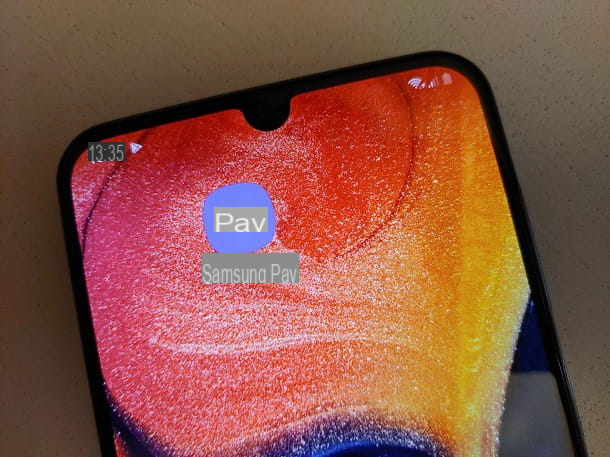
How to disable Samsung Pay
Trends
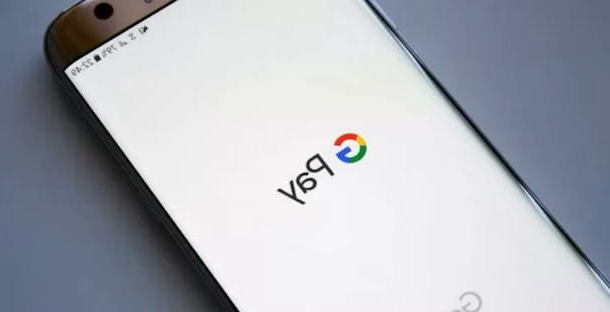
How to deactivate Google Pay
WhatsApp is rolling out a new FaceTime-inspired calling interface on iPhone
How to change the Google wallpaper on Chrome, Firefox and Edge
With Kodi every PC becomes a multimedia player for the TV too
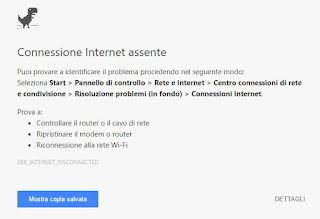
Windows 10, a new bug does not allow you to connect to the Internet
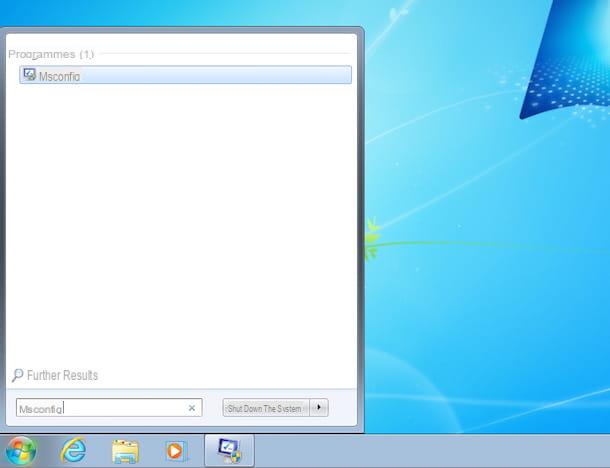
How to speed up Windows 7
Instagram is testing its statistical tools in Europe
How to reinstall Windows 10
How to activate PlayStation Plus
Activate Chrome offline mode on PC and Android


 Search
Search
Search