Search
Visited
Popular
Recent
Discussed
Valued
Shared
Discover all the tricks to activate the hidden functions of your devices activationtrouble
How to activate IoStudio
Opera Neon is the browser of the future for Windows and Mac. How to use it
Come bypassare the password of Windows XP
Facebook says goodbye to Windows 10: the official app has been canceled
Previous
Following
Cheap Nintendo Switch: where to buy it at the best price?
Chrome settings on Android to change to improve navigation
Social networks: a weapon to fight harassment and aggression
How to solve inefficiencies and blocks of DAZN
The most popular
iOS 14: discover the list of compatible iPhones
MacBook Pro 2021: apps can hide the notch or use the whole screen
How to turn off I've been looking for you Three
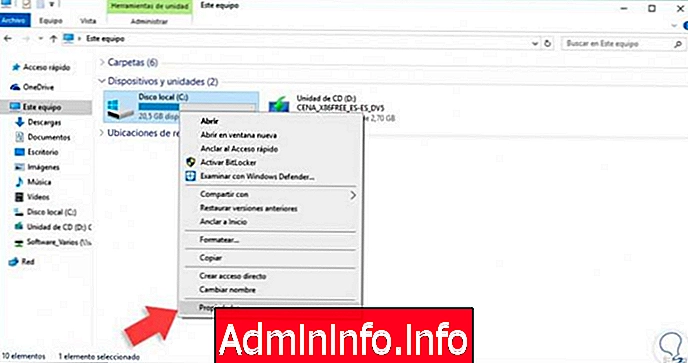
Windows: how to show extensions and hidden files
How to use old software on Windows 10
Try Vivaldi 3, the coolest browser of all to see the web
How to remove old Windows drivers and free up space on your pc
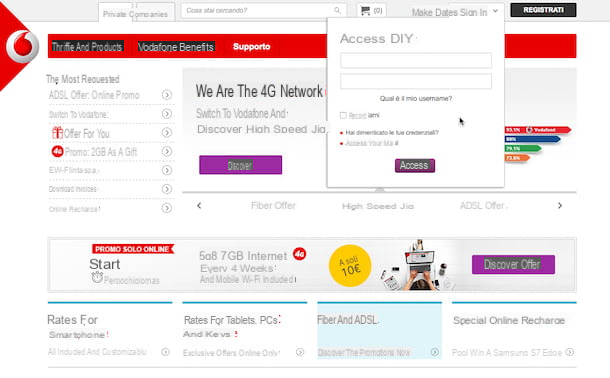
How to deactivate Vodafone Exclusive
Show passwords readable on Chrome
Download all photos and videos from Google Photos
Windows 10 Start Menu Not Working: What Microsoft Says
How Twitter Tries To Mute Your Stalkers
Instructions to download WhatsApp on mobile and PC
Trends
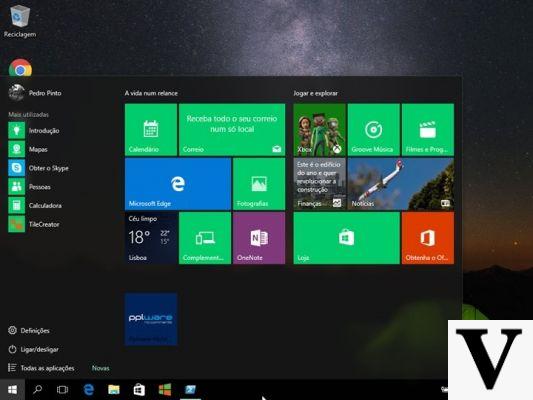
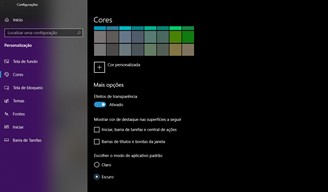
How to set dark mode on Windows 10
How to enable call forwarding to another number on Android
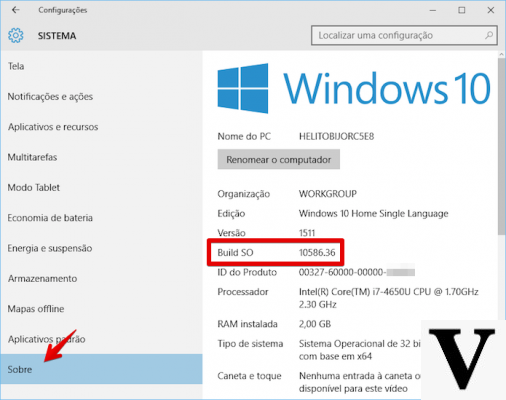
How to find out which version of Windows you are using
TOR on Chrome, anonymous and encrypted connection
Windows 10: how to install and use a PlayStation emulator?
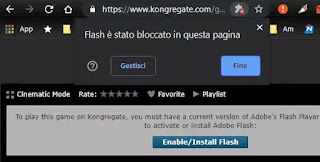
How to Activate Flash on Chrome
Windows 10: the anniversary update crashes the webcams, here's how to prevent it
How to activate Windows 8.1
Sync Safari Favorites on iPhone, Mac, PC and Android
iPhone 12: Apple replaces the speakers following sound problems


 Search
Search
Search